
DIY LiFePO4 battery goes to work
It’s been a while since I built my DIY LiFePO4 battery and started my bench testing. After completing the build I’d planned to press the battery into service but hadn’t figured out the best application for it. Once I finished the battery I knew I wanted to test it in a real-world scenario, but also one where troubles wouldn’t knock the house system of my boats or RV offline. Well, I think I’ve found the perfect place to get that real-world usage testing while also being able to tolerate trouble.
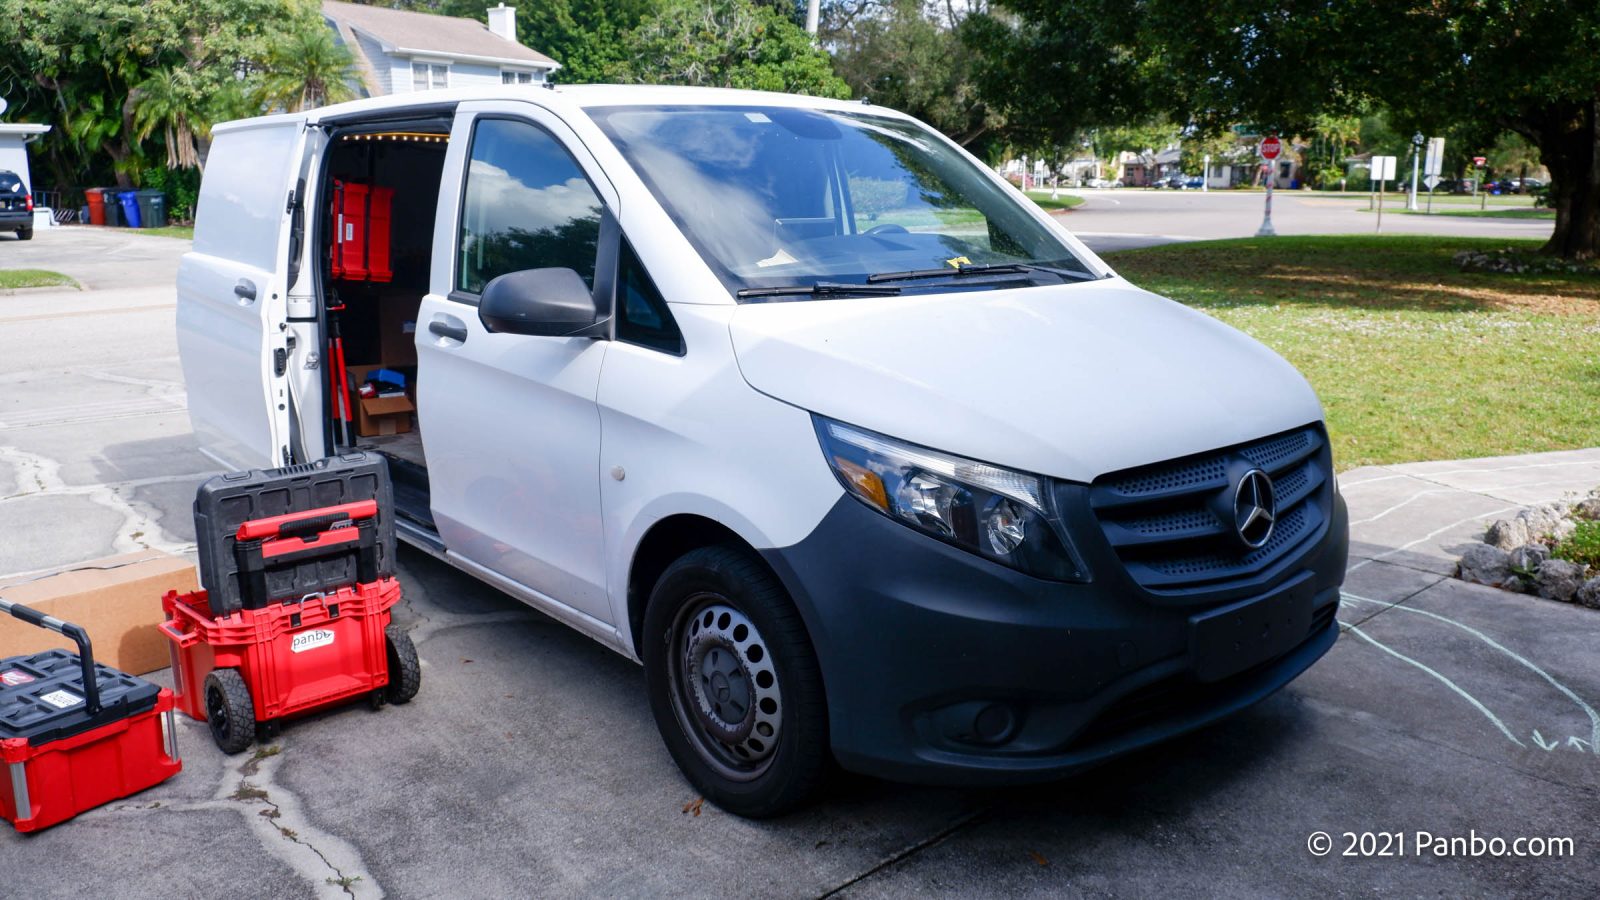
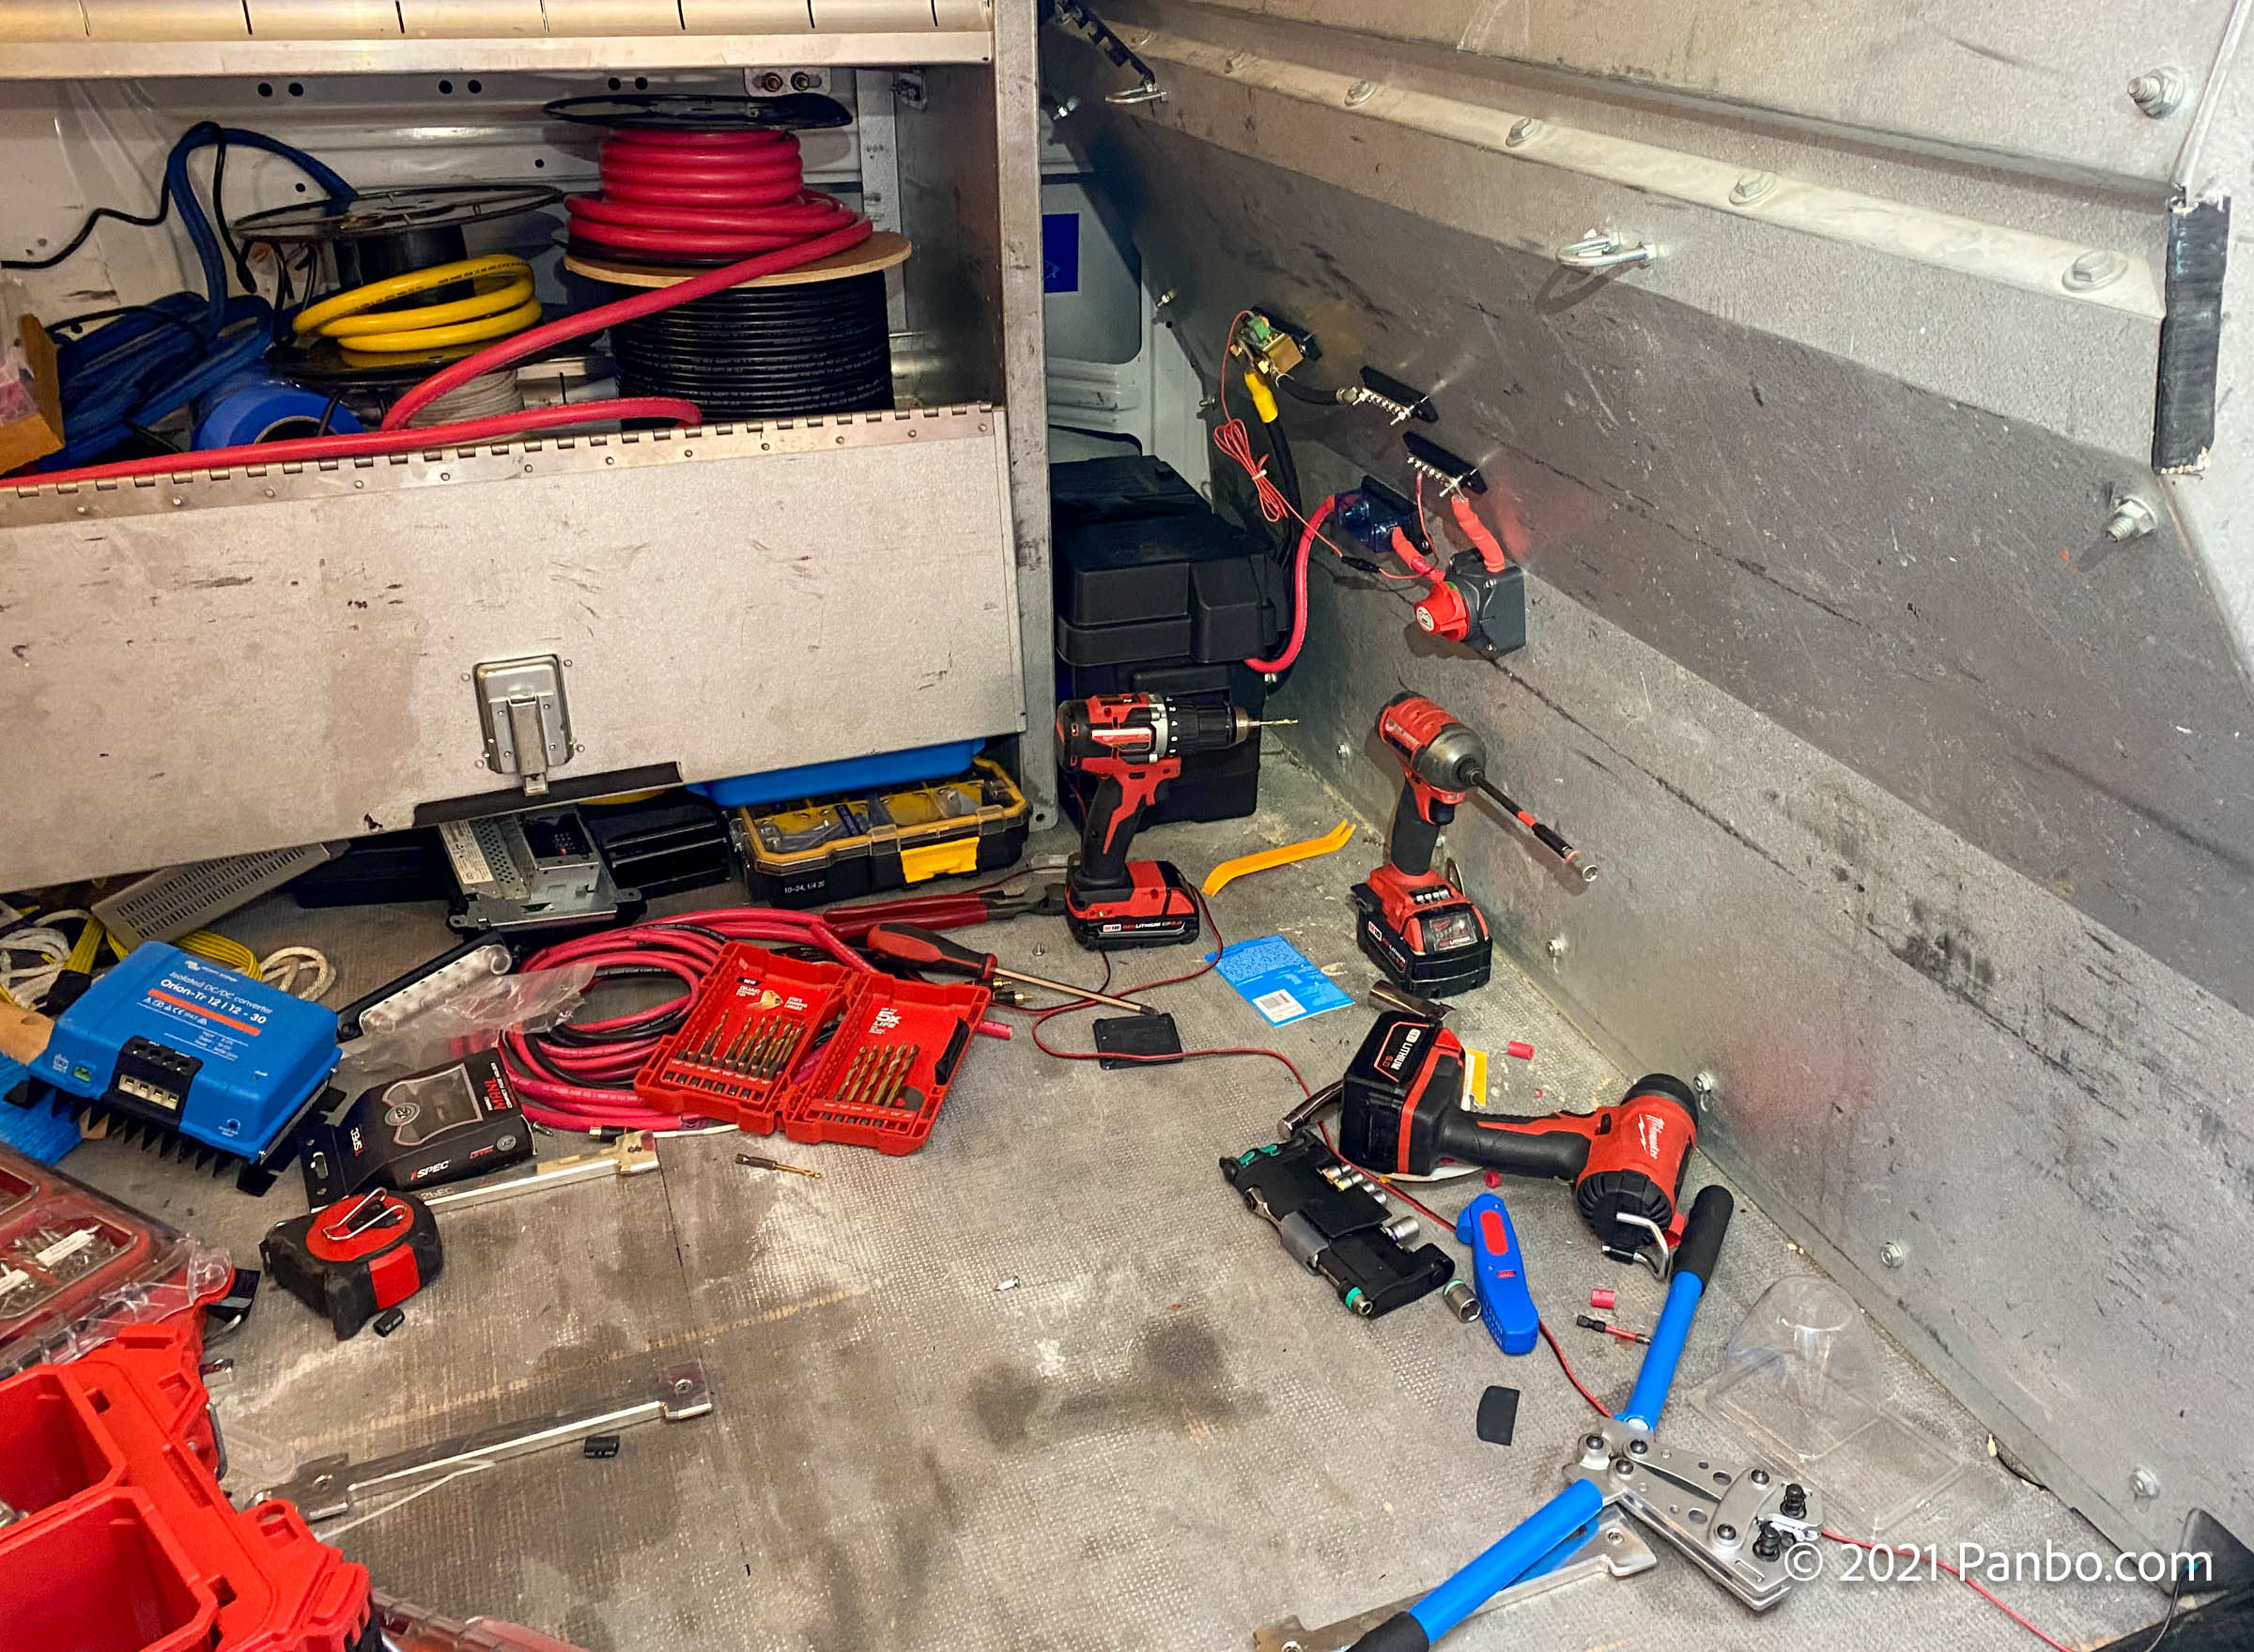
About the time I finished up the DIY battery I also bought a well-loved Mercedes Metris work van to use for mobile installs. It’s a glamorous life I lead, driving around in a Mercedes. Or so you might think until you see the inside of my particular Mercedes.
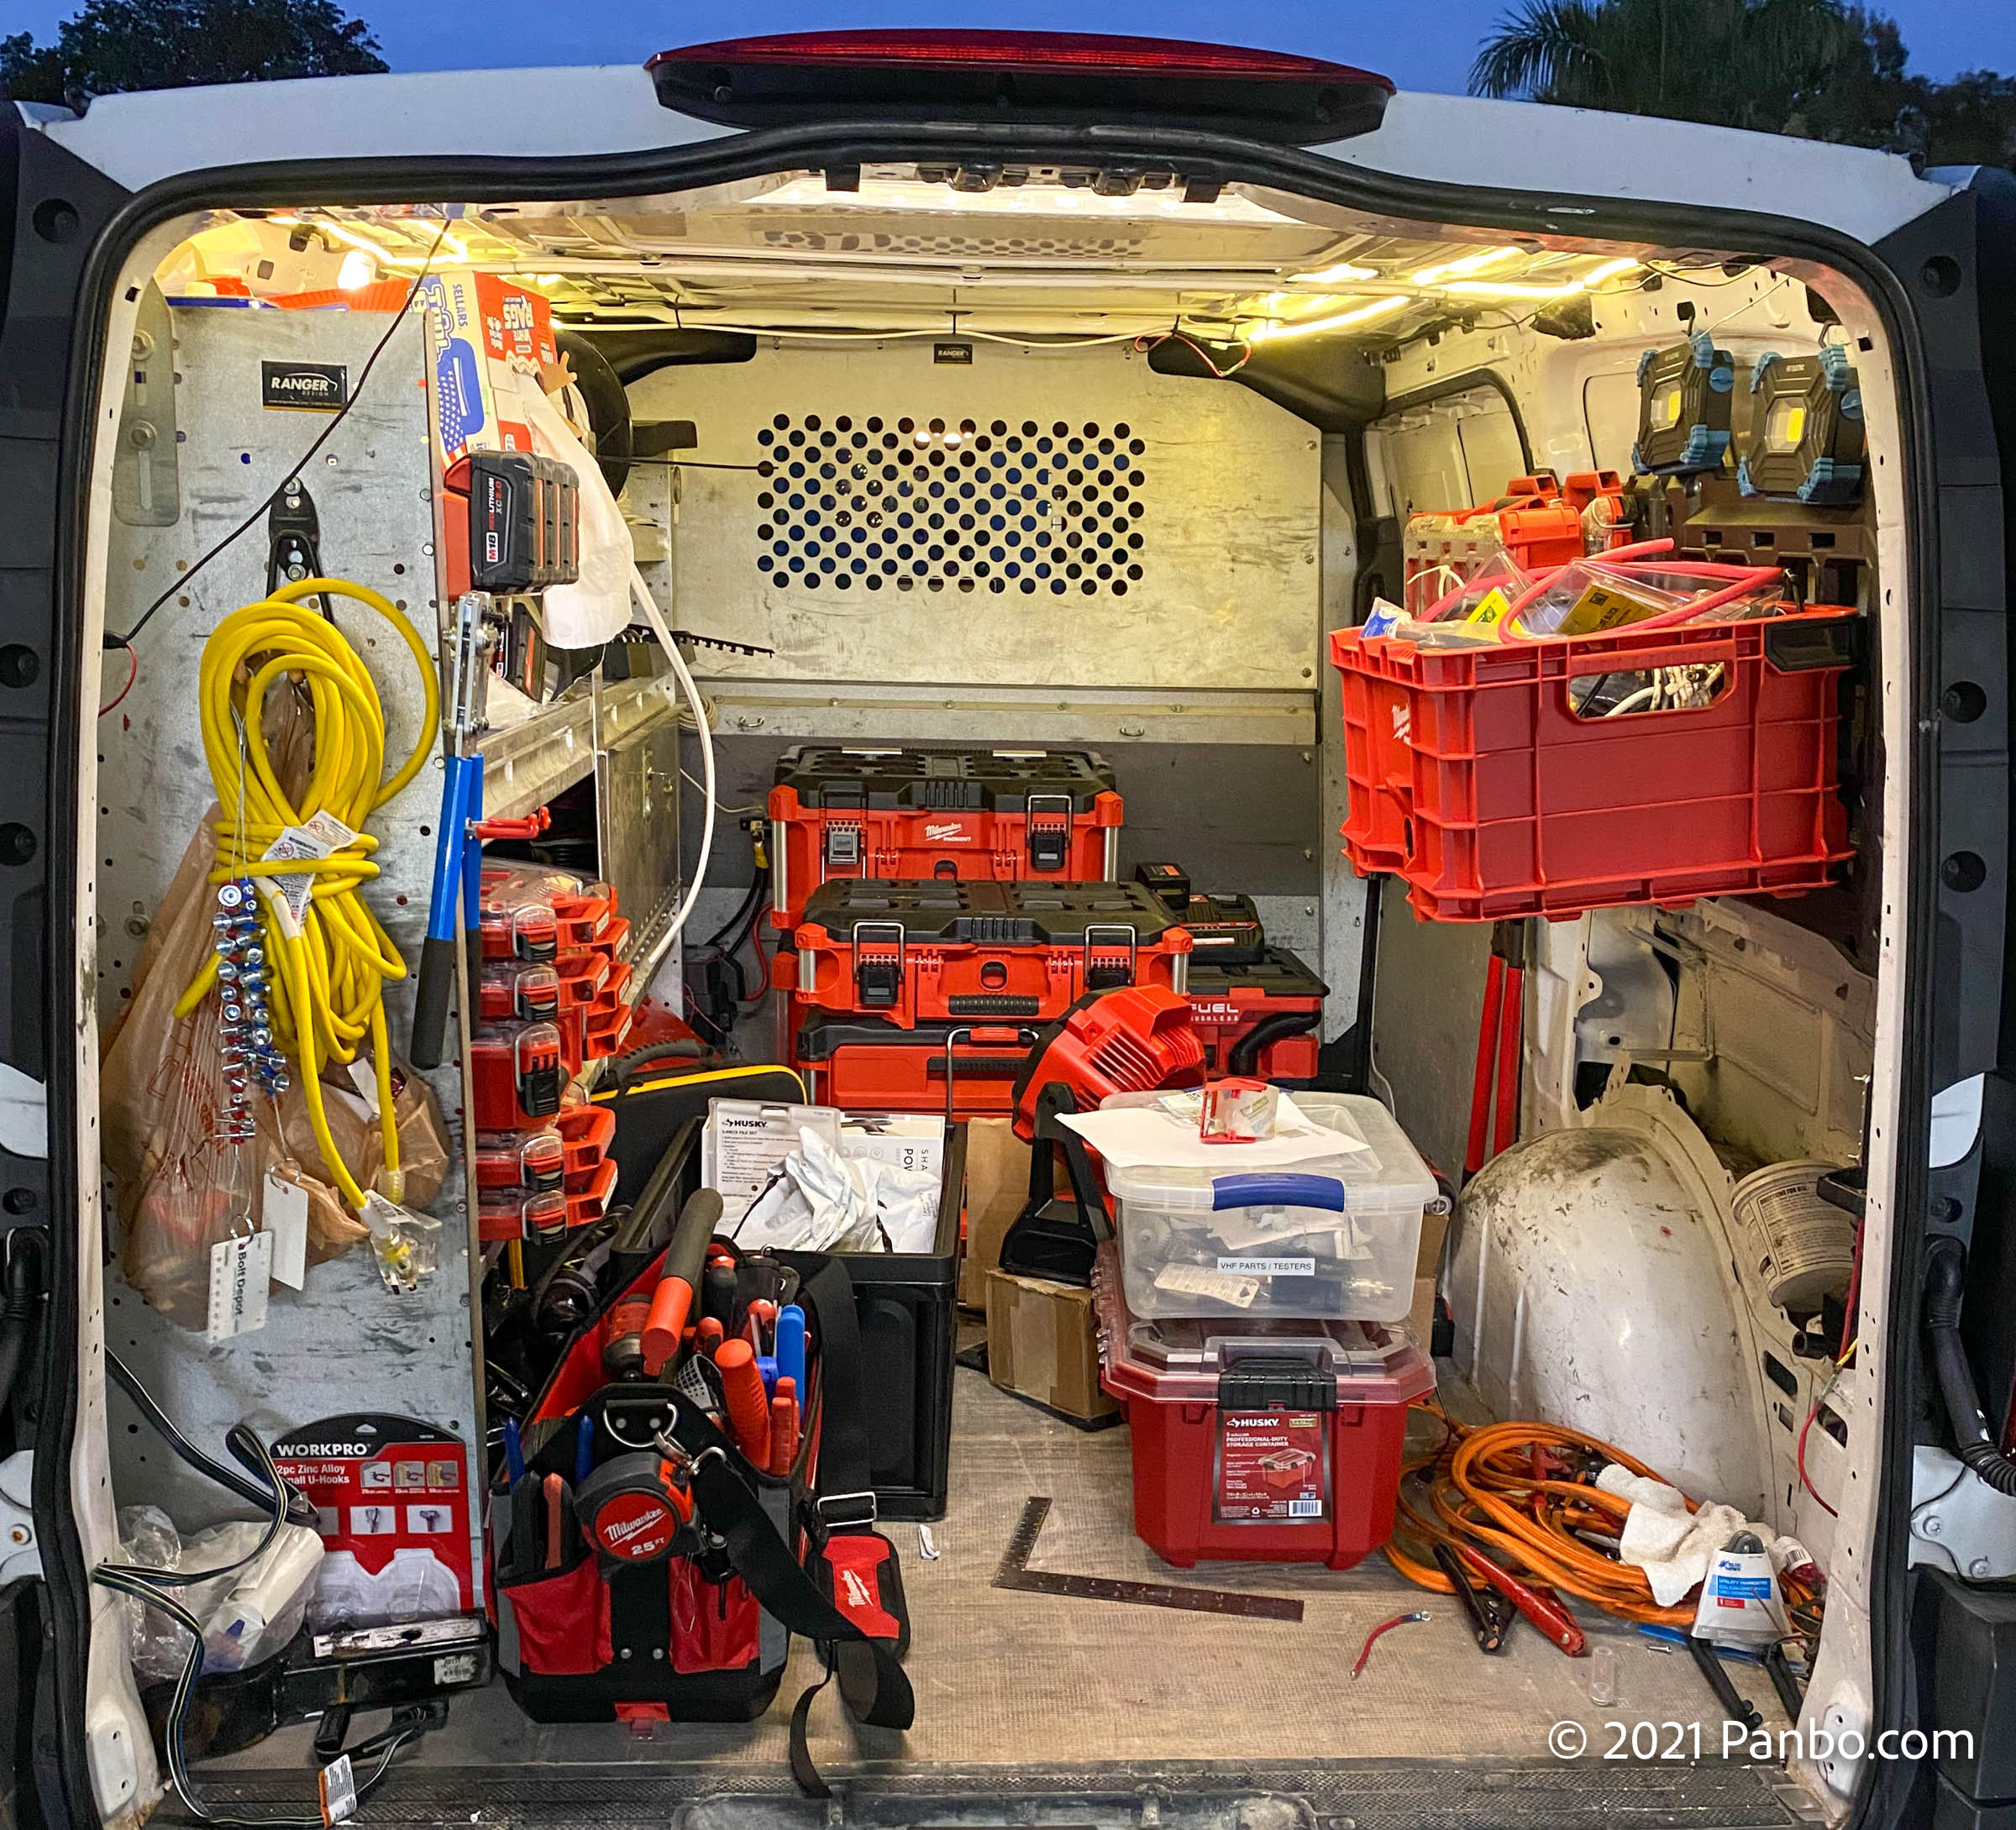
It’s been great to collect most of my installation tools into a single spot and outfit the van with everything I (should) need to complete an install. I’ve found it invaluable not just for completing work on my own boats and RV, but also while completing the installation portion of consulting engagements.
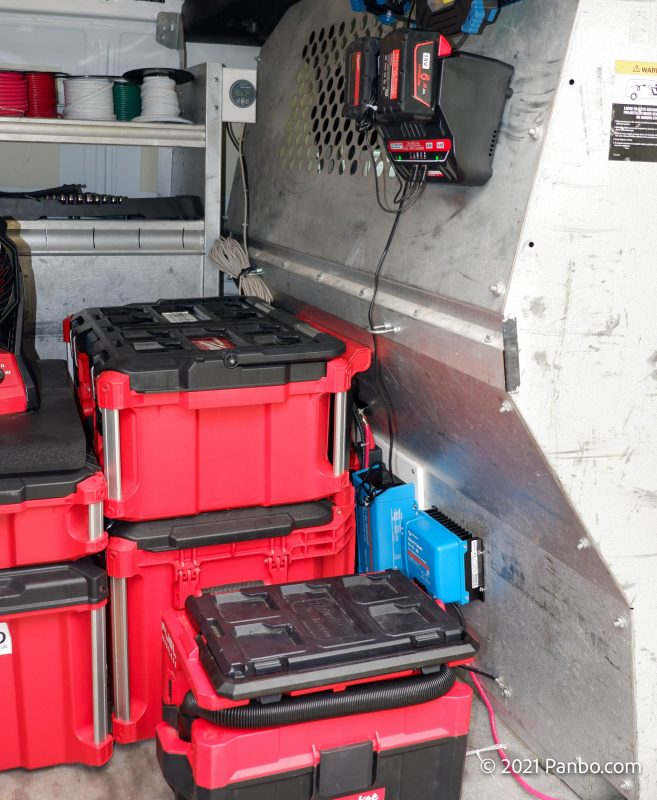
I’m committed to using cordless tools whenever possible and that’s worked really well for me. But, some of those tools, like my heat gun, vacuum, and saws, can drain batteries in a hurry. So, I carry quite a few extra charged batteries. But, I’d like to recharge the ones I’ve used in the van. And, as long as I’m charging my tools, it would also be nice to power my laptop and anything else that might come up.
This seemed like the perfect workload for the DIY battery. It will give me the opportunity to test the battery under real workloads and under some less-than-perfect circumstances. The Metris can be ordered from Mercedes with all sorts of complex electrical options to support unfitting (converting to van campers, etc). But, mine was ordered as a bottom-of-the-barrel work van and came with none of the fancy options like second batteries, larger alternators, high amperage wiring to the rear, etc. So, I’ll be charging the DIY battery using a relatively small DC to DC charger.
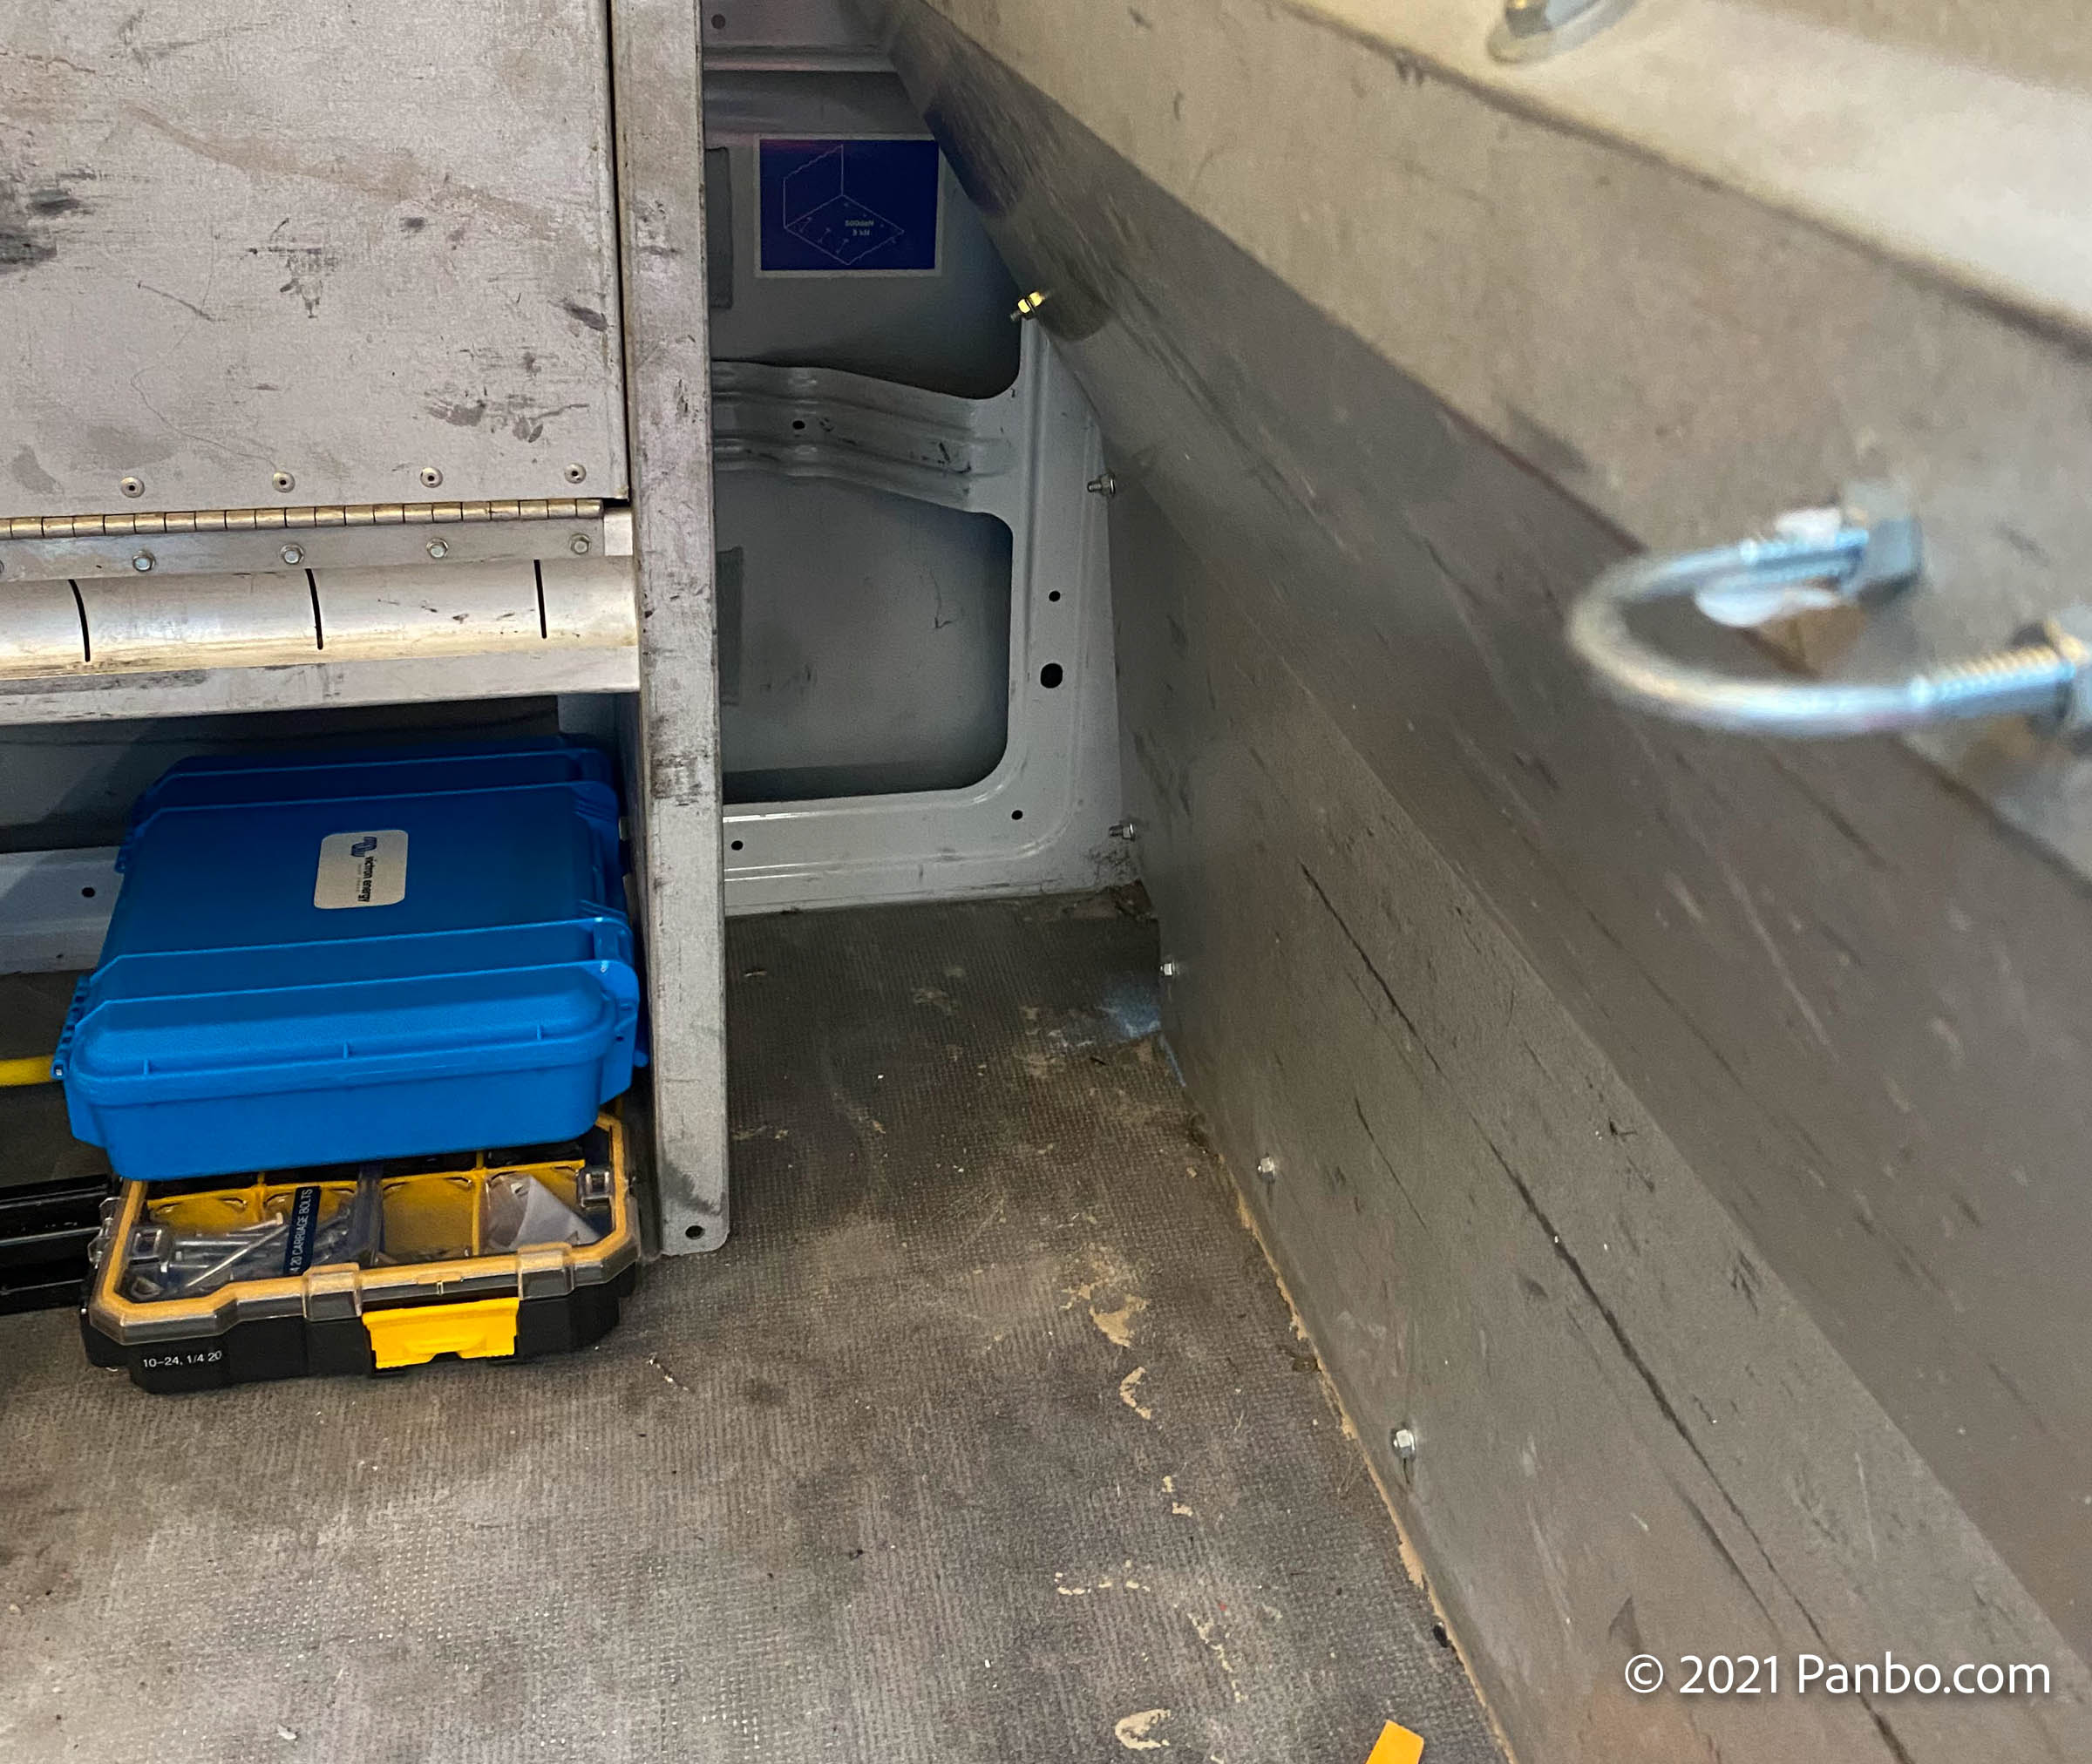
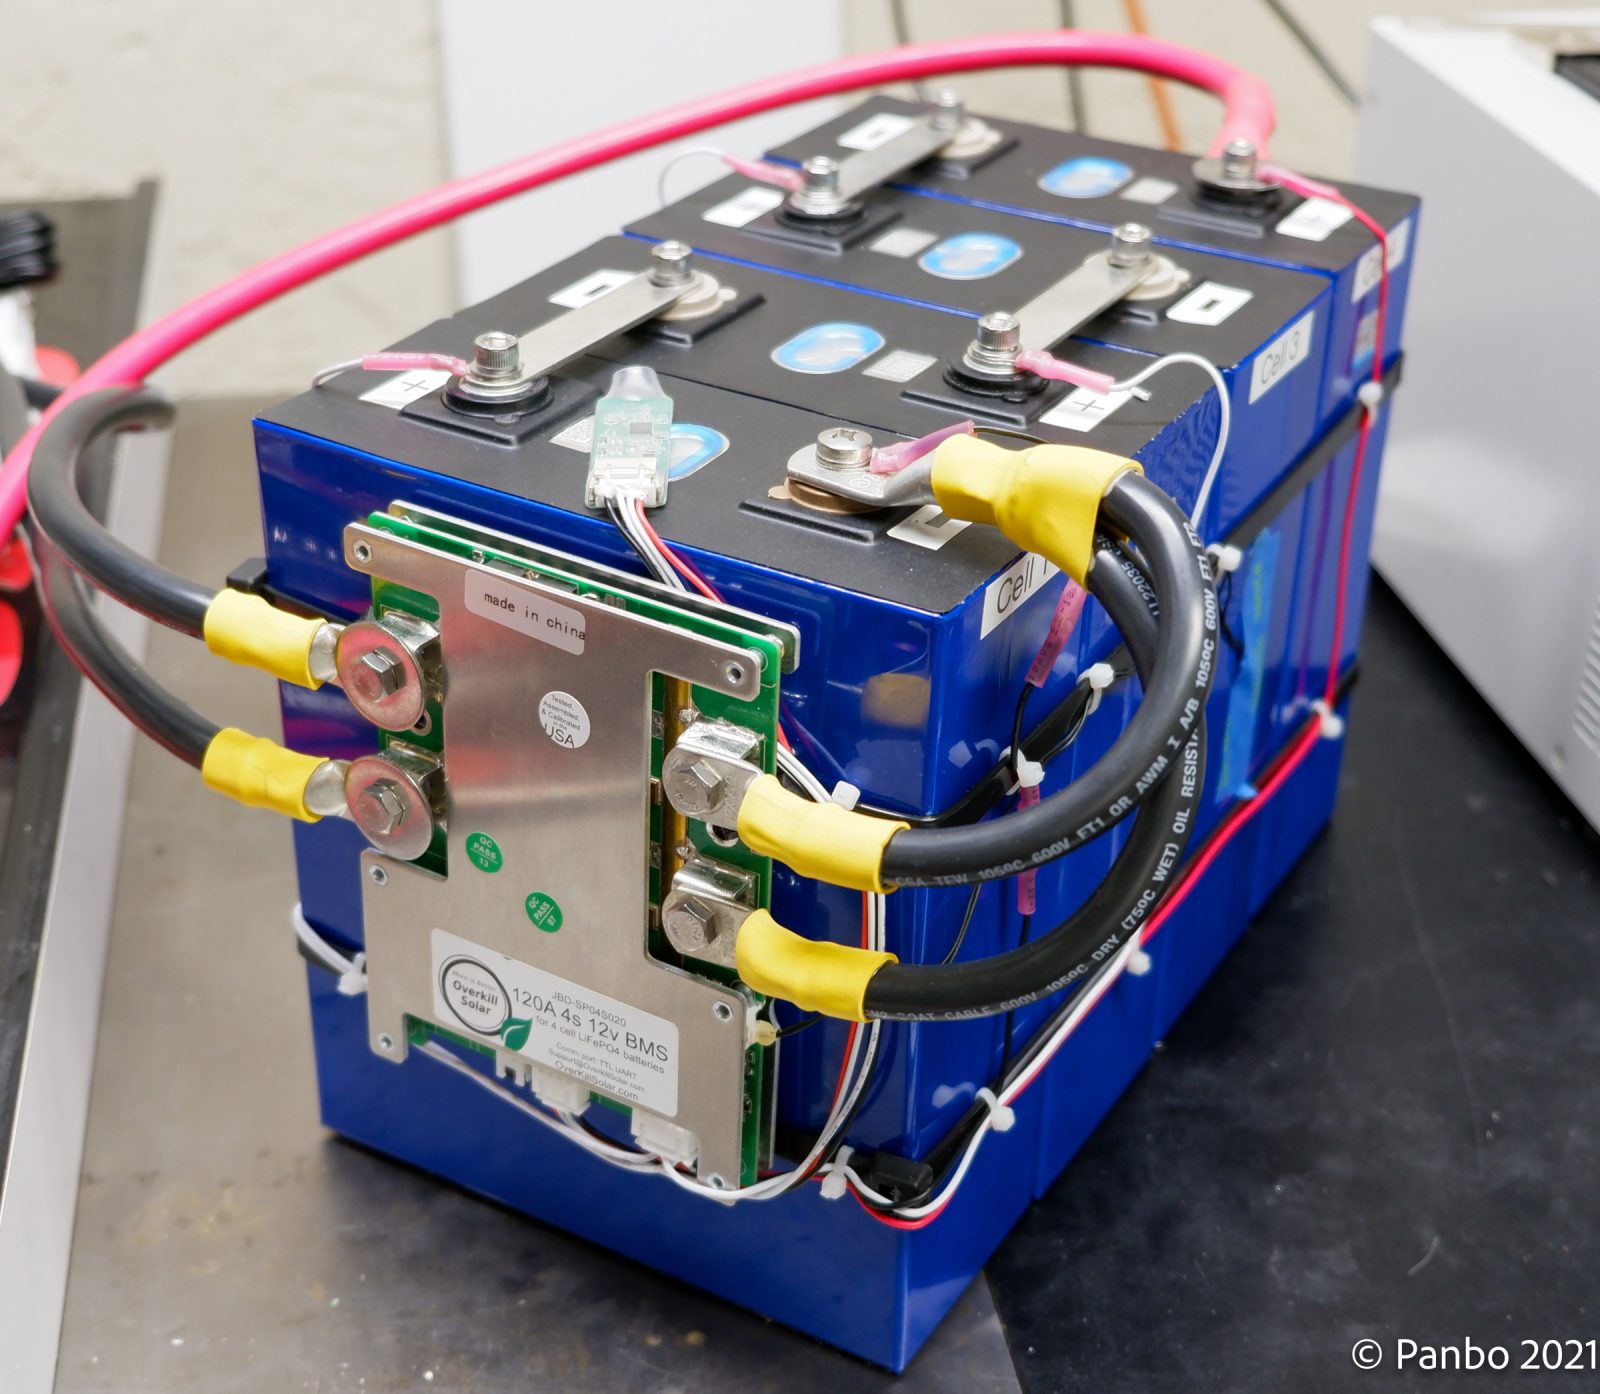
The previous owner of my van installed shelving down the left side of the cargo area. The front end of the shelving ends before it meets the partition and left an area nearly perfectly sized for the battery. I’d installed the battery in a Group 31 battery box that protects it nicely. So, I installed the securing strap to the floor and slid the battery in place.
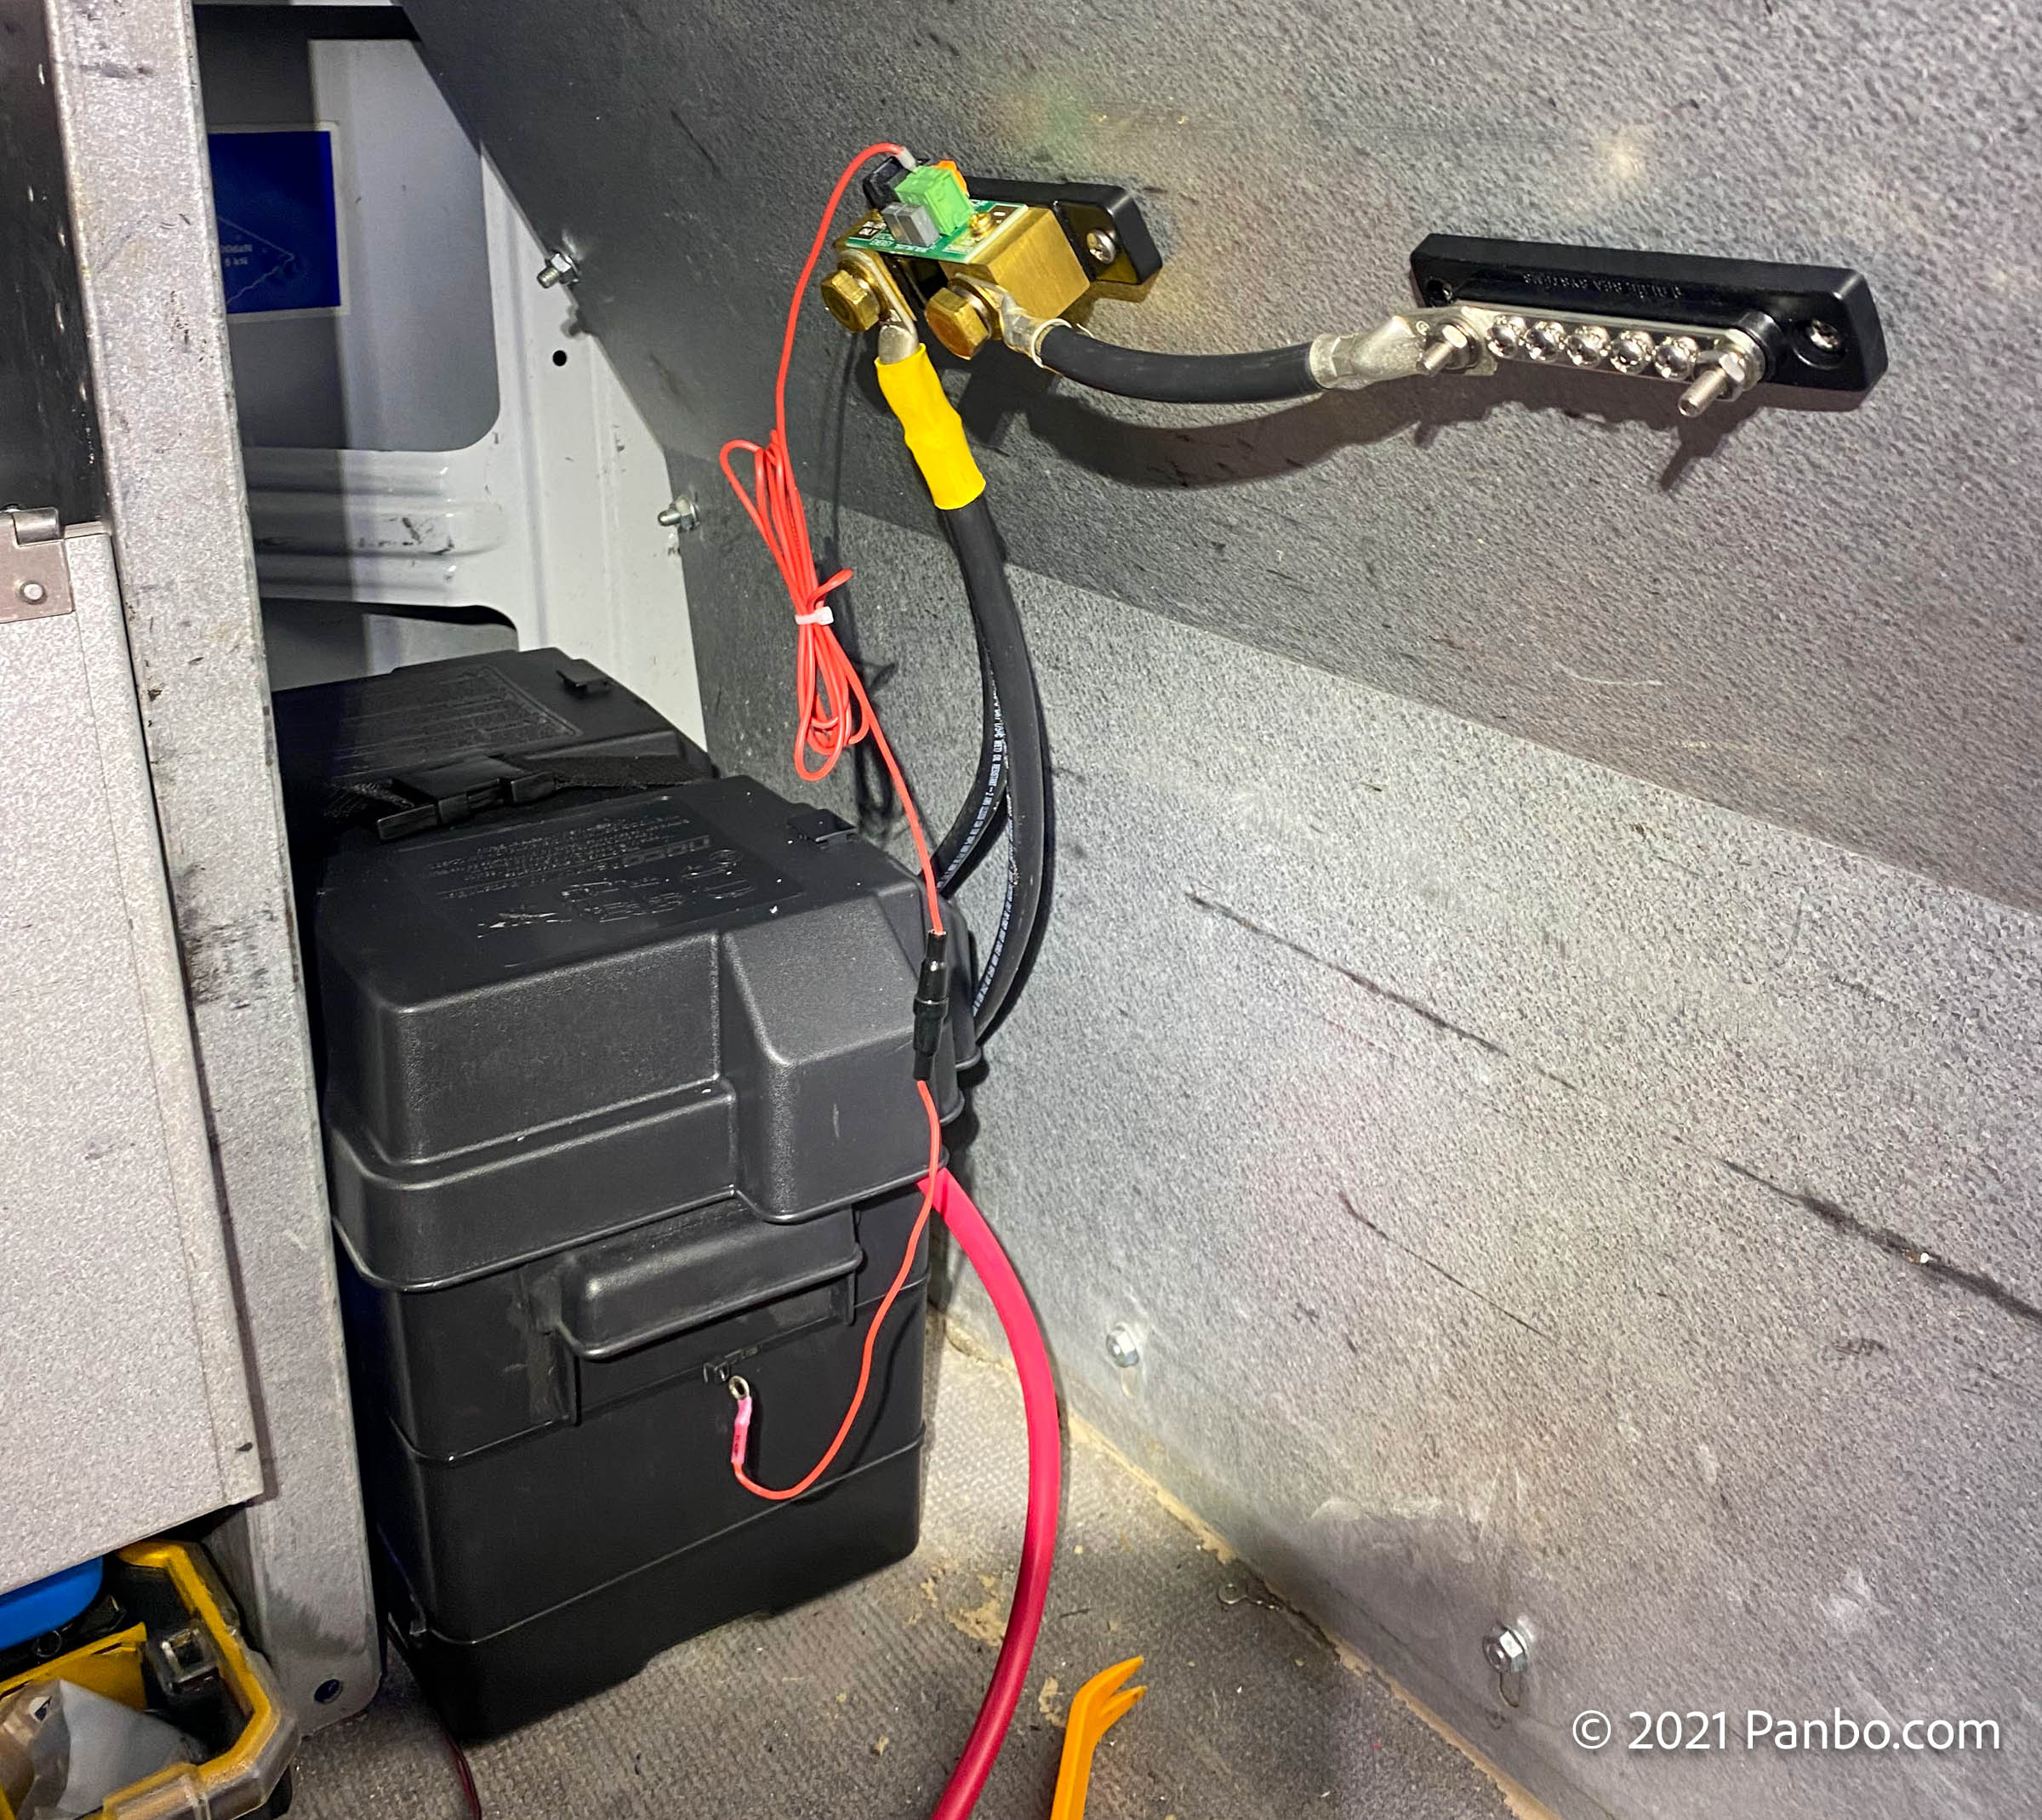
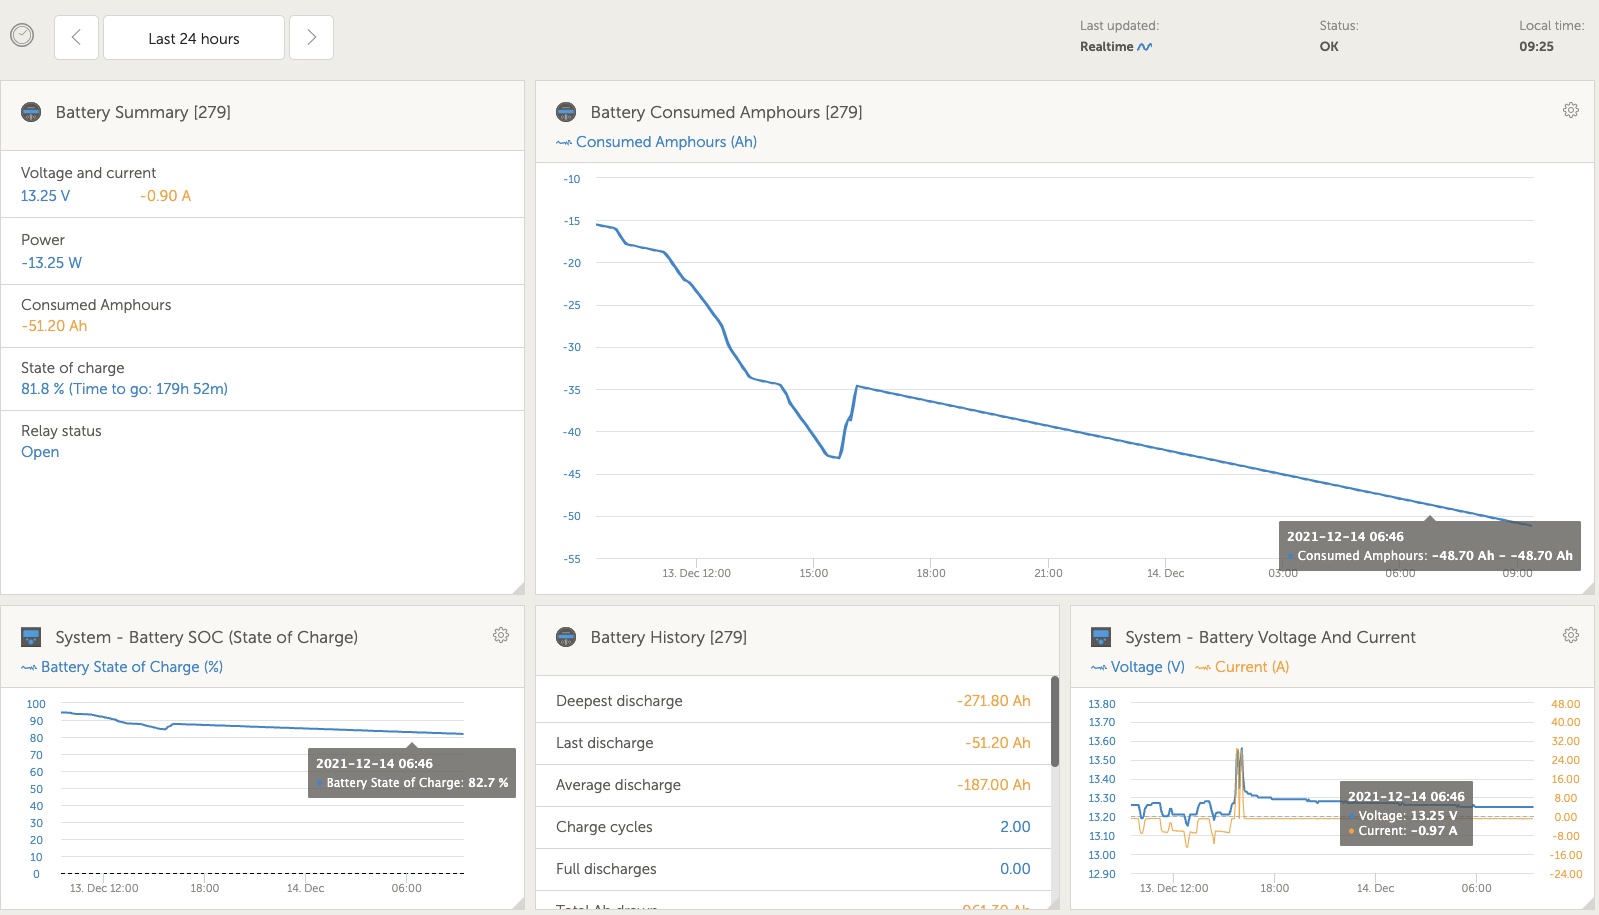
This is a dual-purpose install. I’m aiming to provide charging and convenience AC power in the van and get real-world testing data for the battery. So, in order to make the most of the testing, I need good data on what’s happening with the battery. So, I chose to use Victron equipment and a Cerbo GX to collect the data.
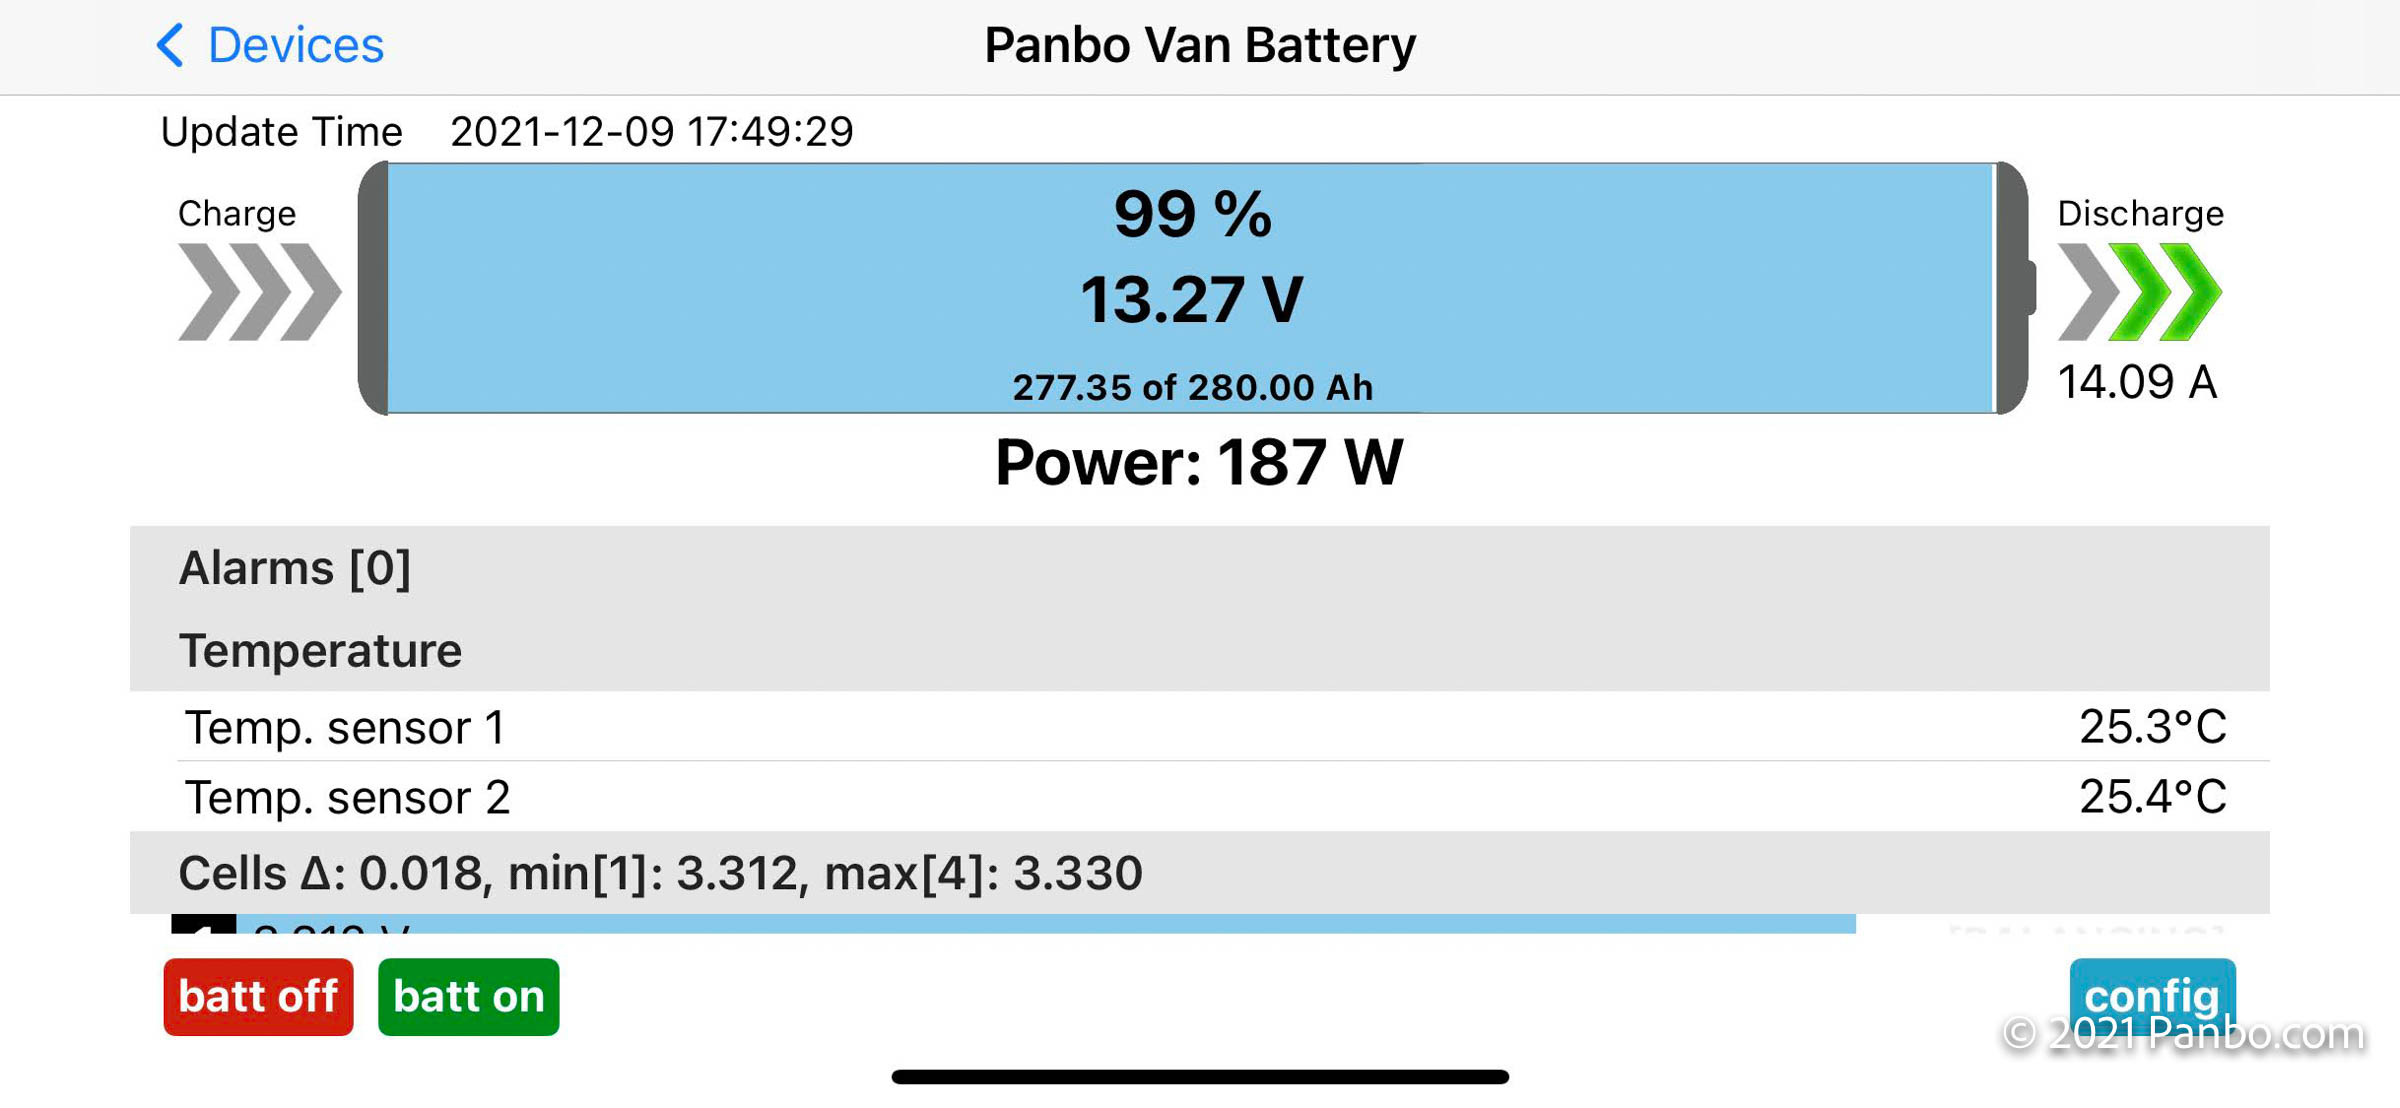
The battery’s BMS has a Bluetooth-connected app to monitor and configure the battery. This works well when I’m within Bluetooth range but won’t allow me to see battery status remotely. So, I’ve added a Victron BMV-712 to the install that will feed the Cerbo via VE.Direct.
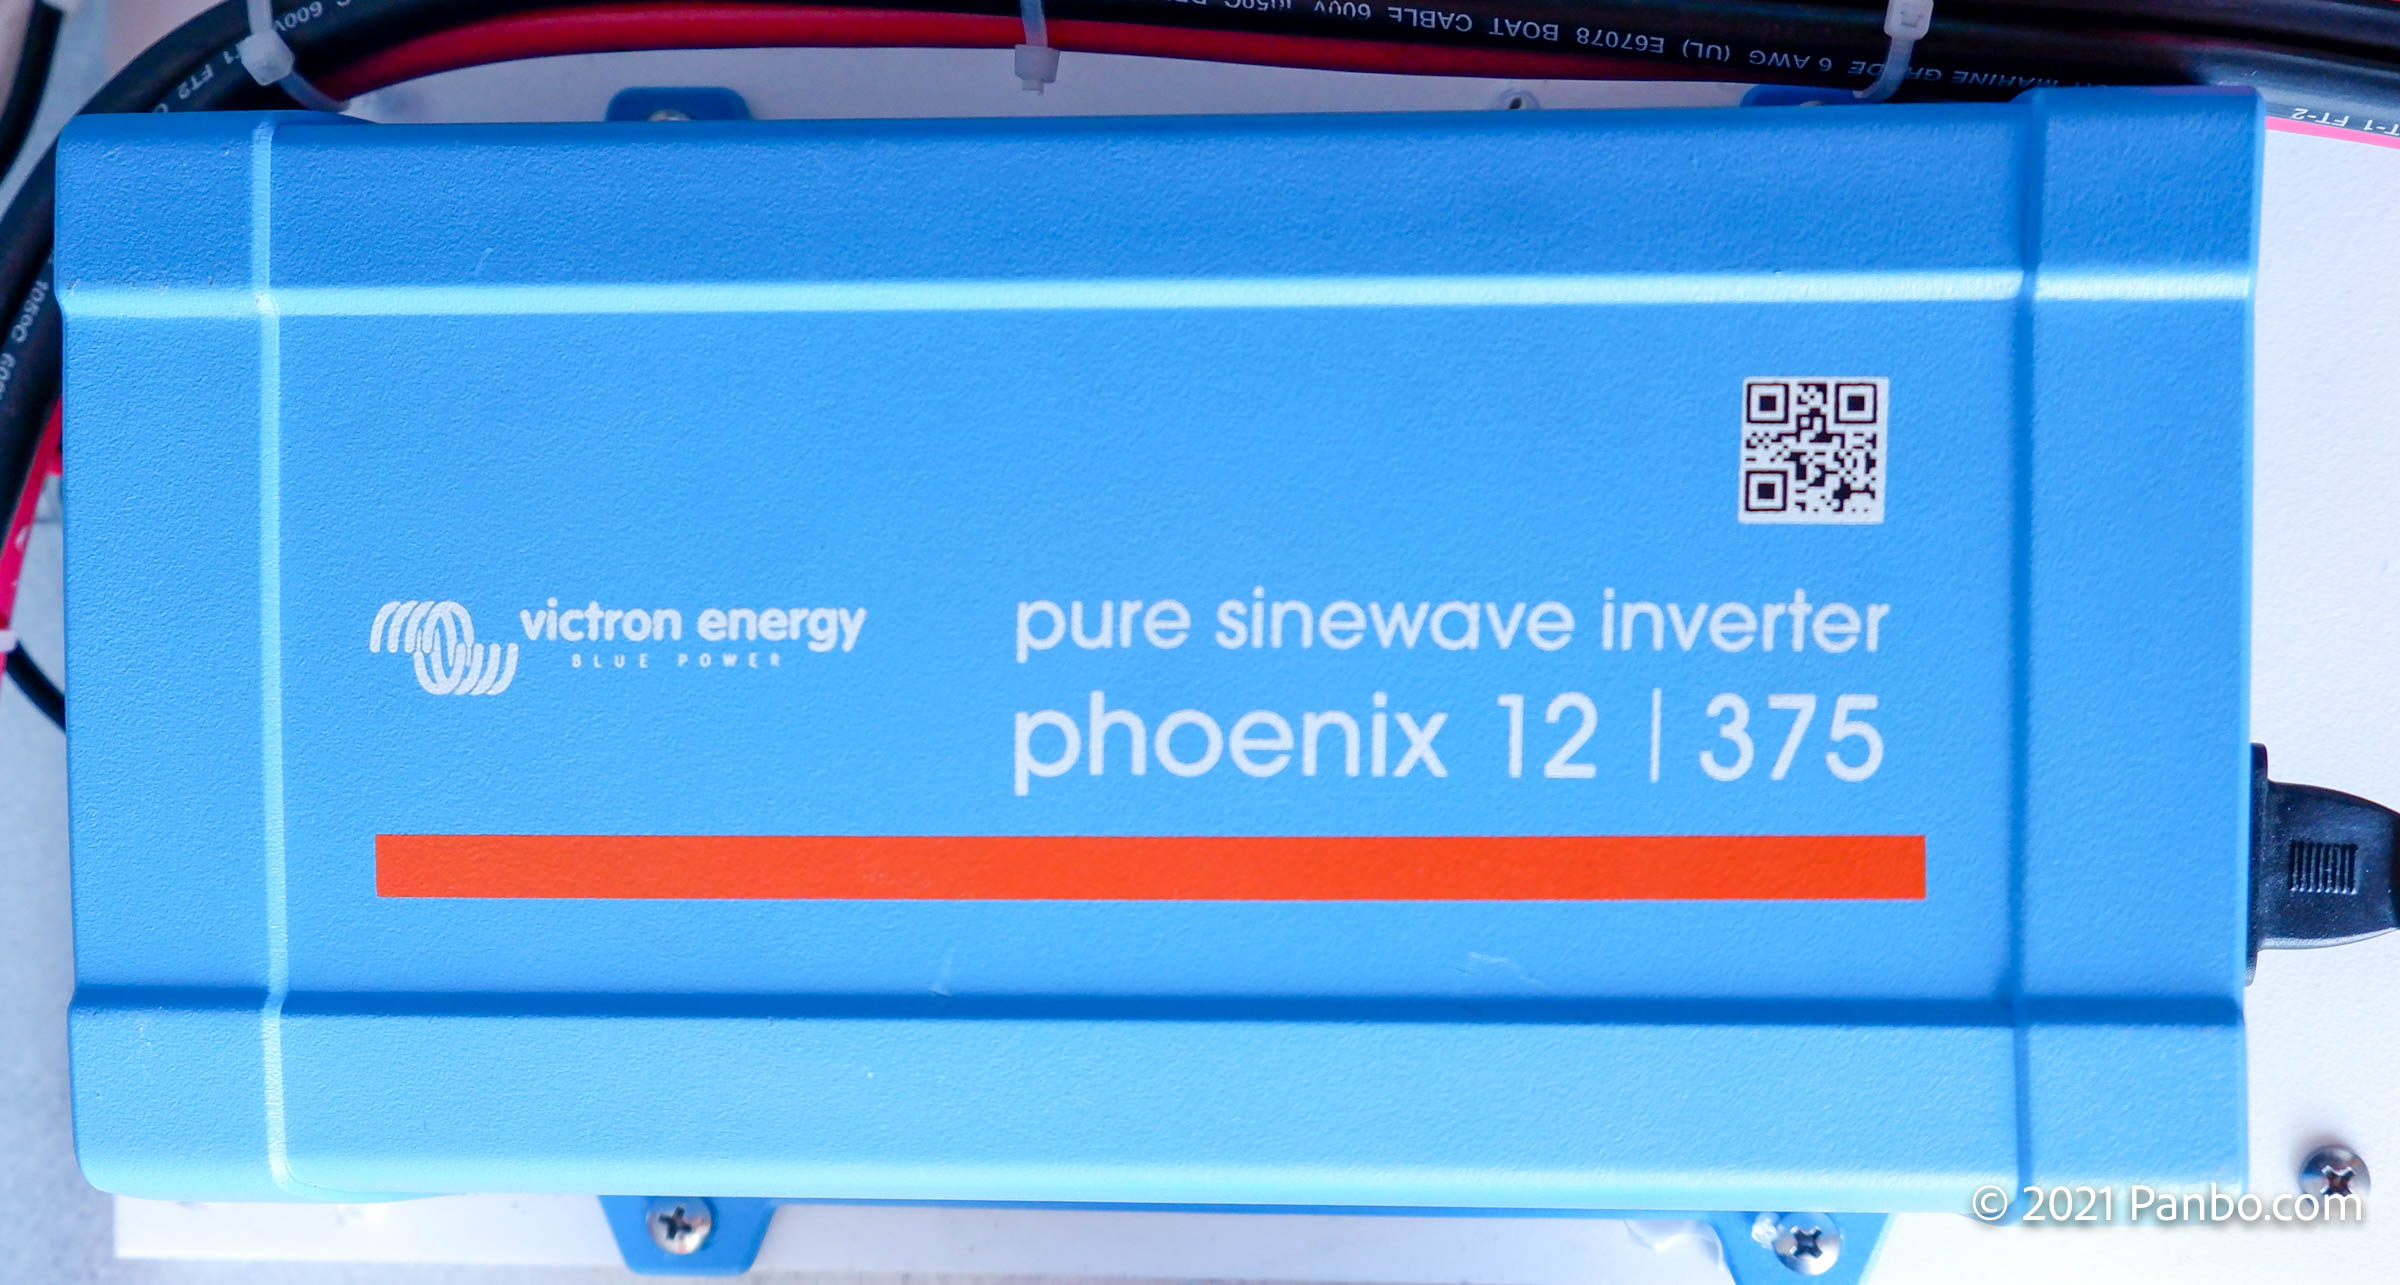
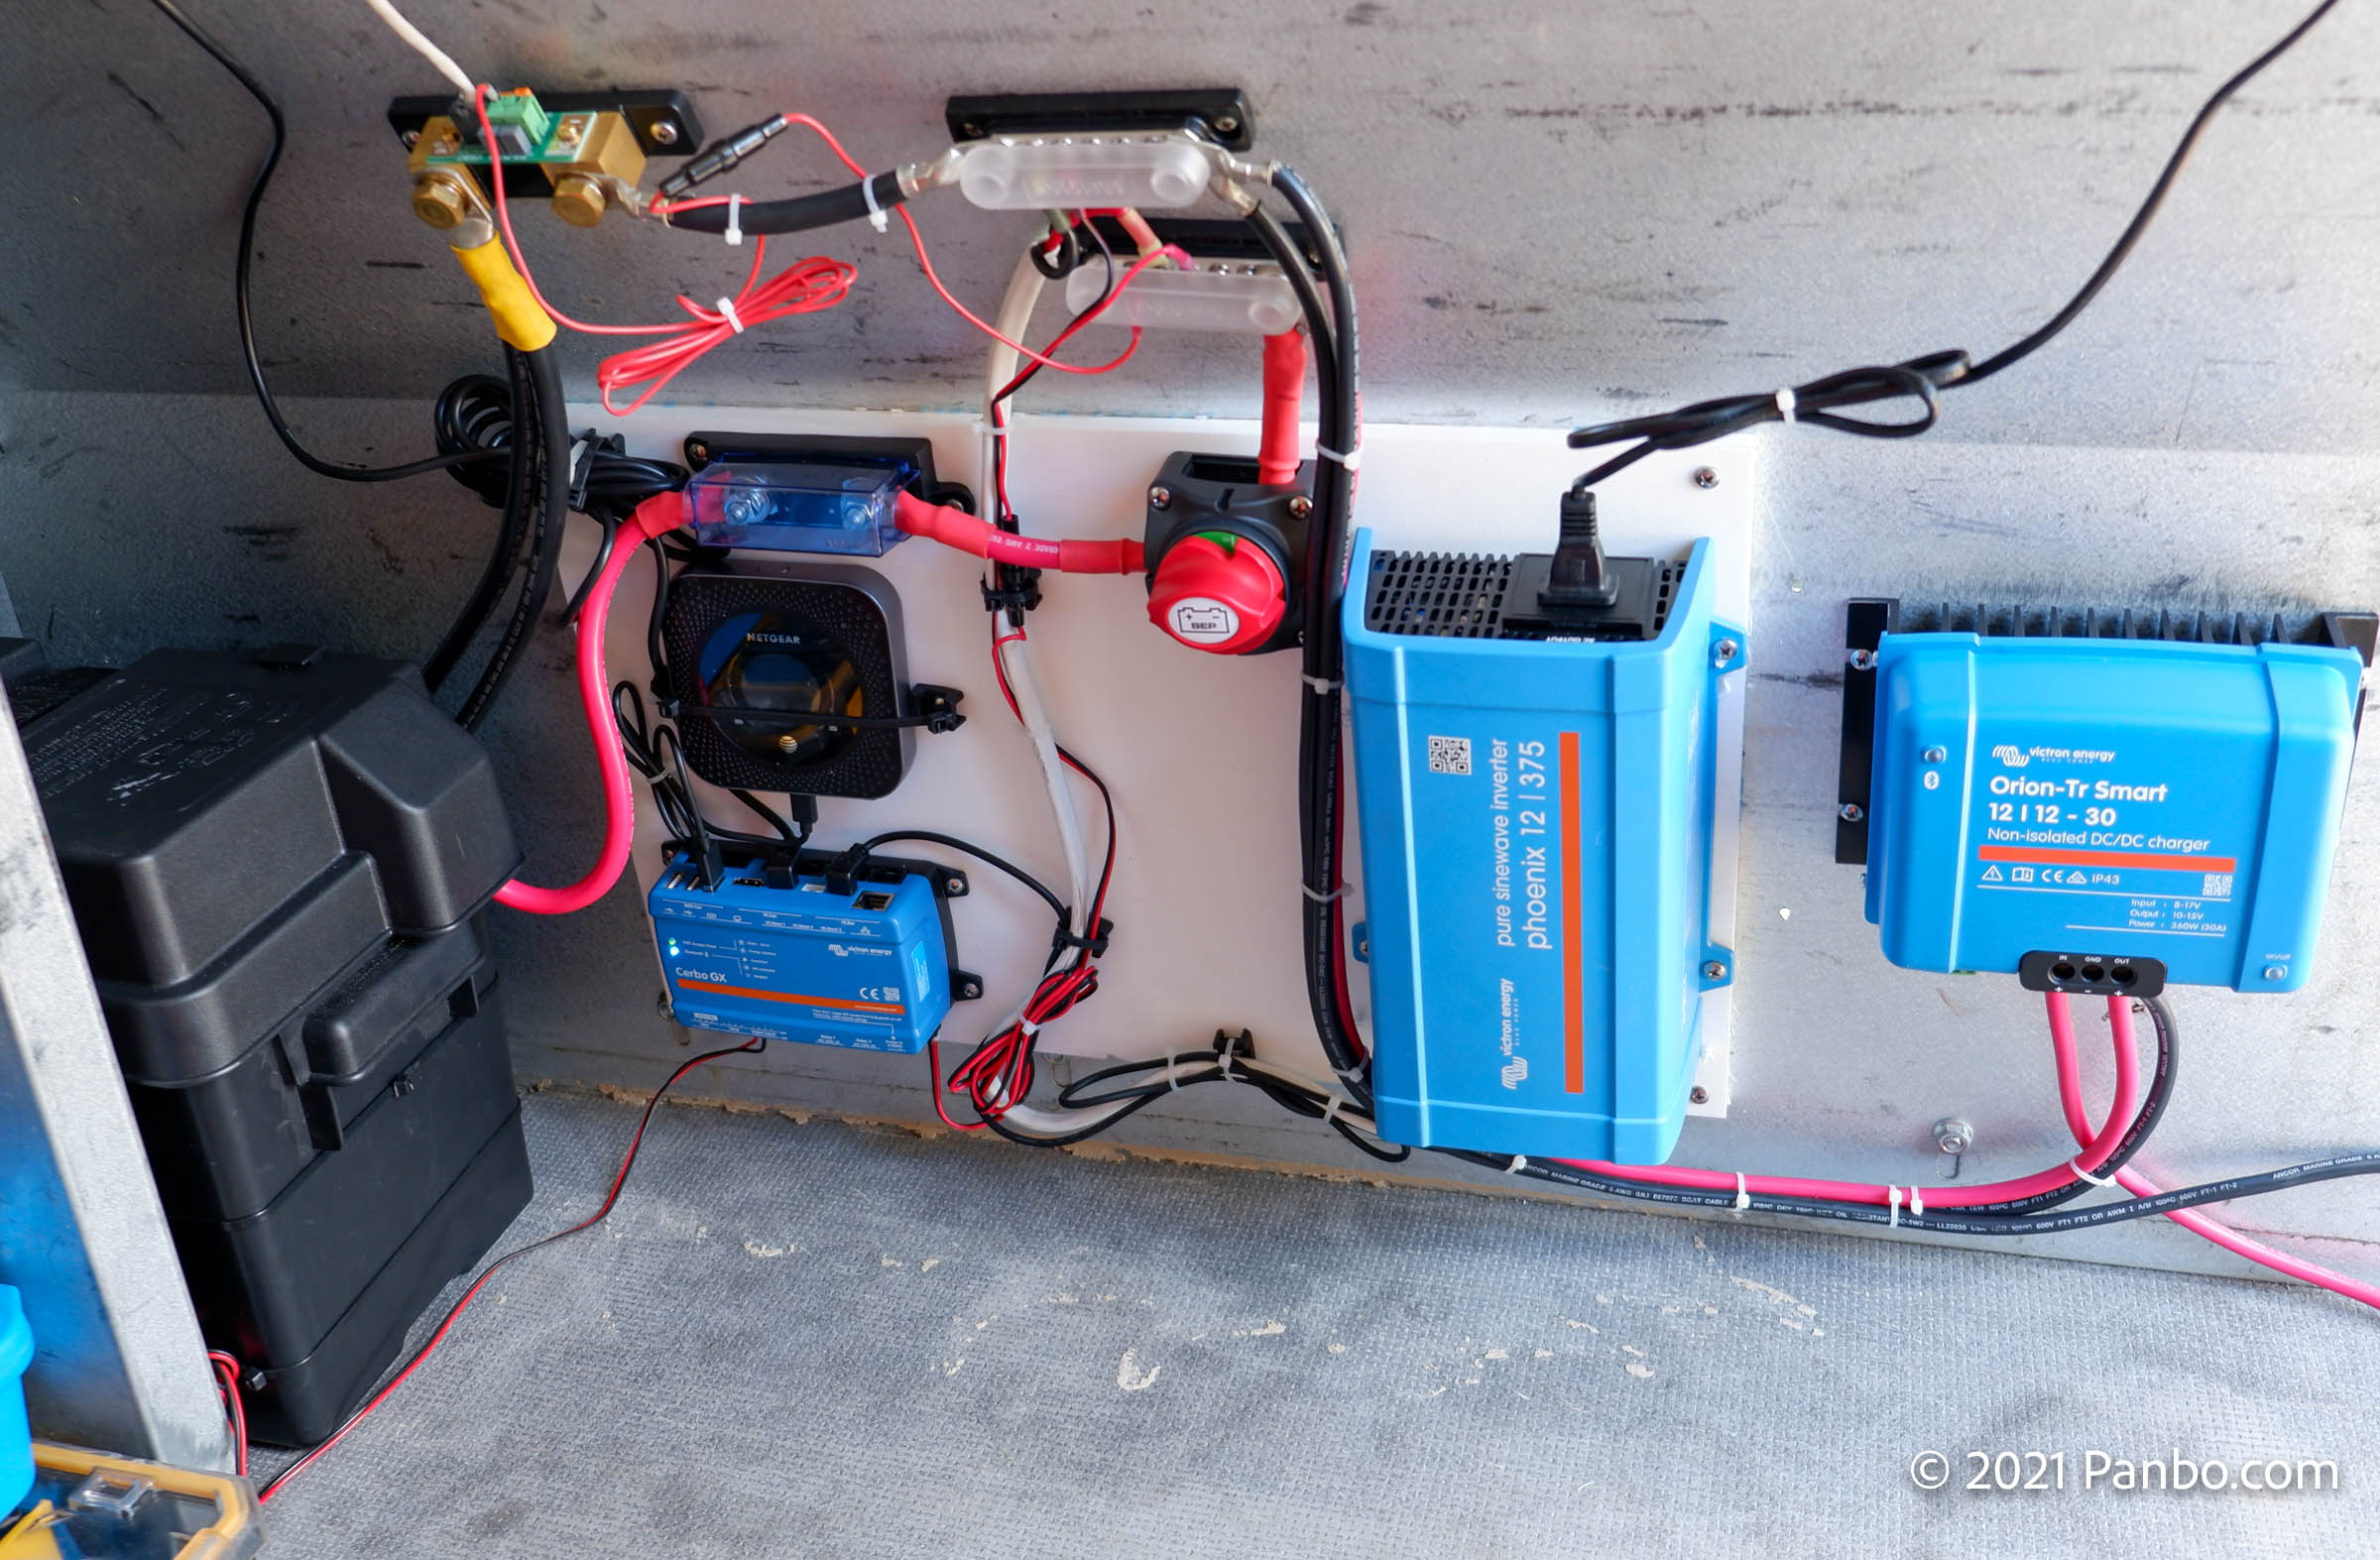
AC power is supplied (made?) by a 12-volt, 375 VA Phoenix inverter. The inverter is also connected to the Cerbo via VE.Direct so I can see how much power the inverter is drawing remotely.
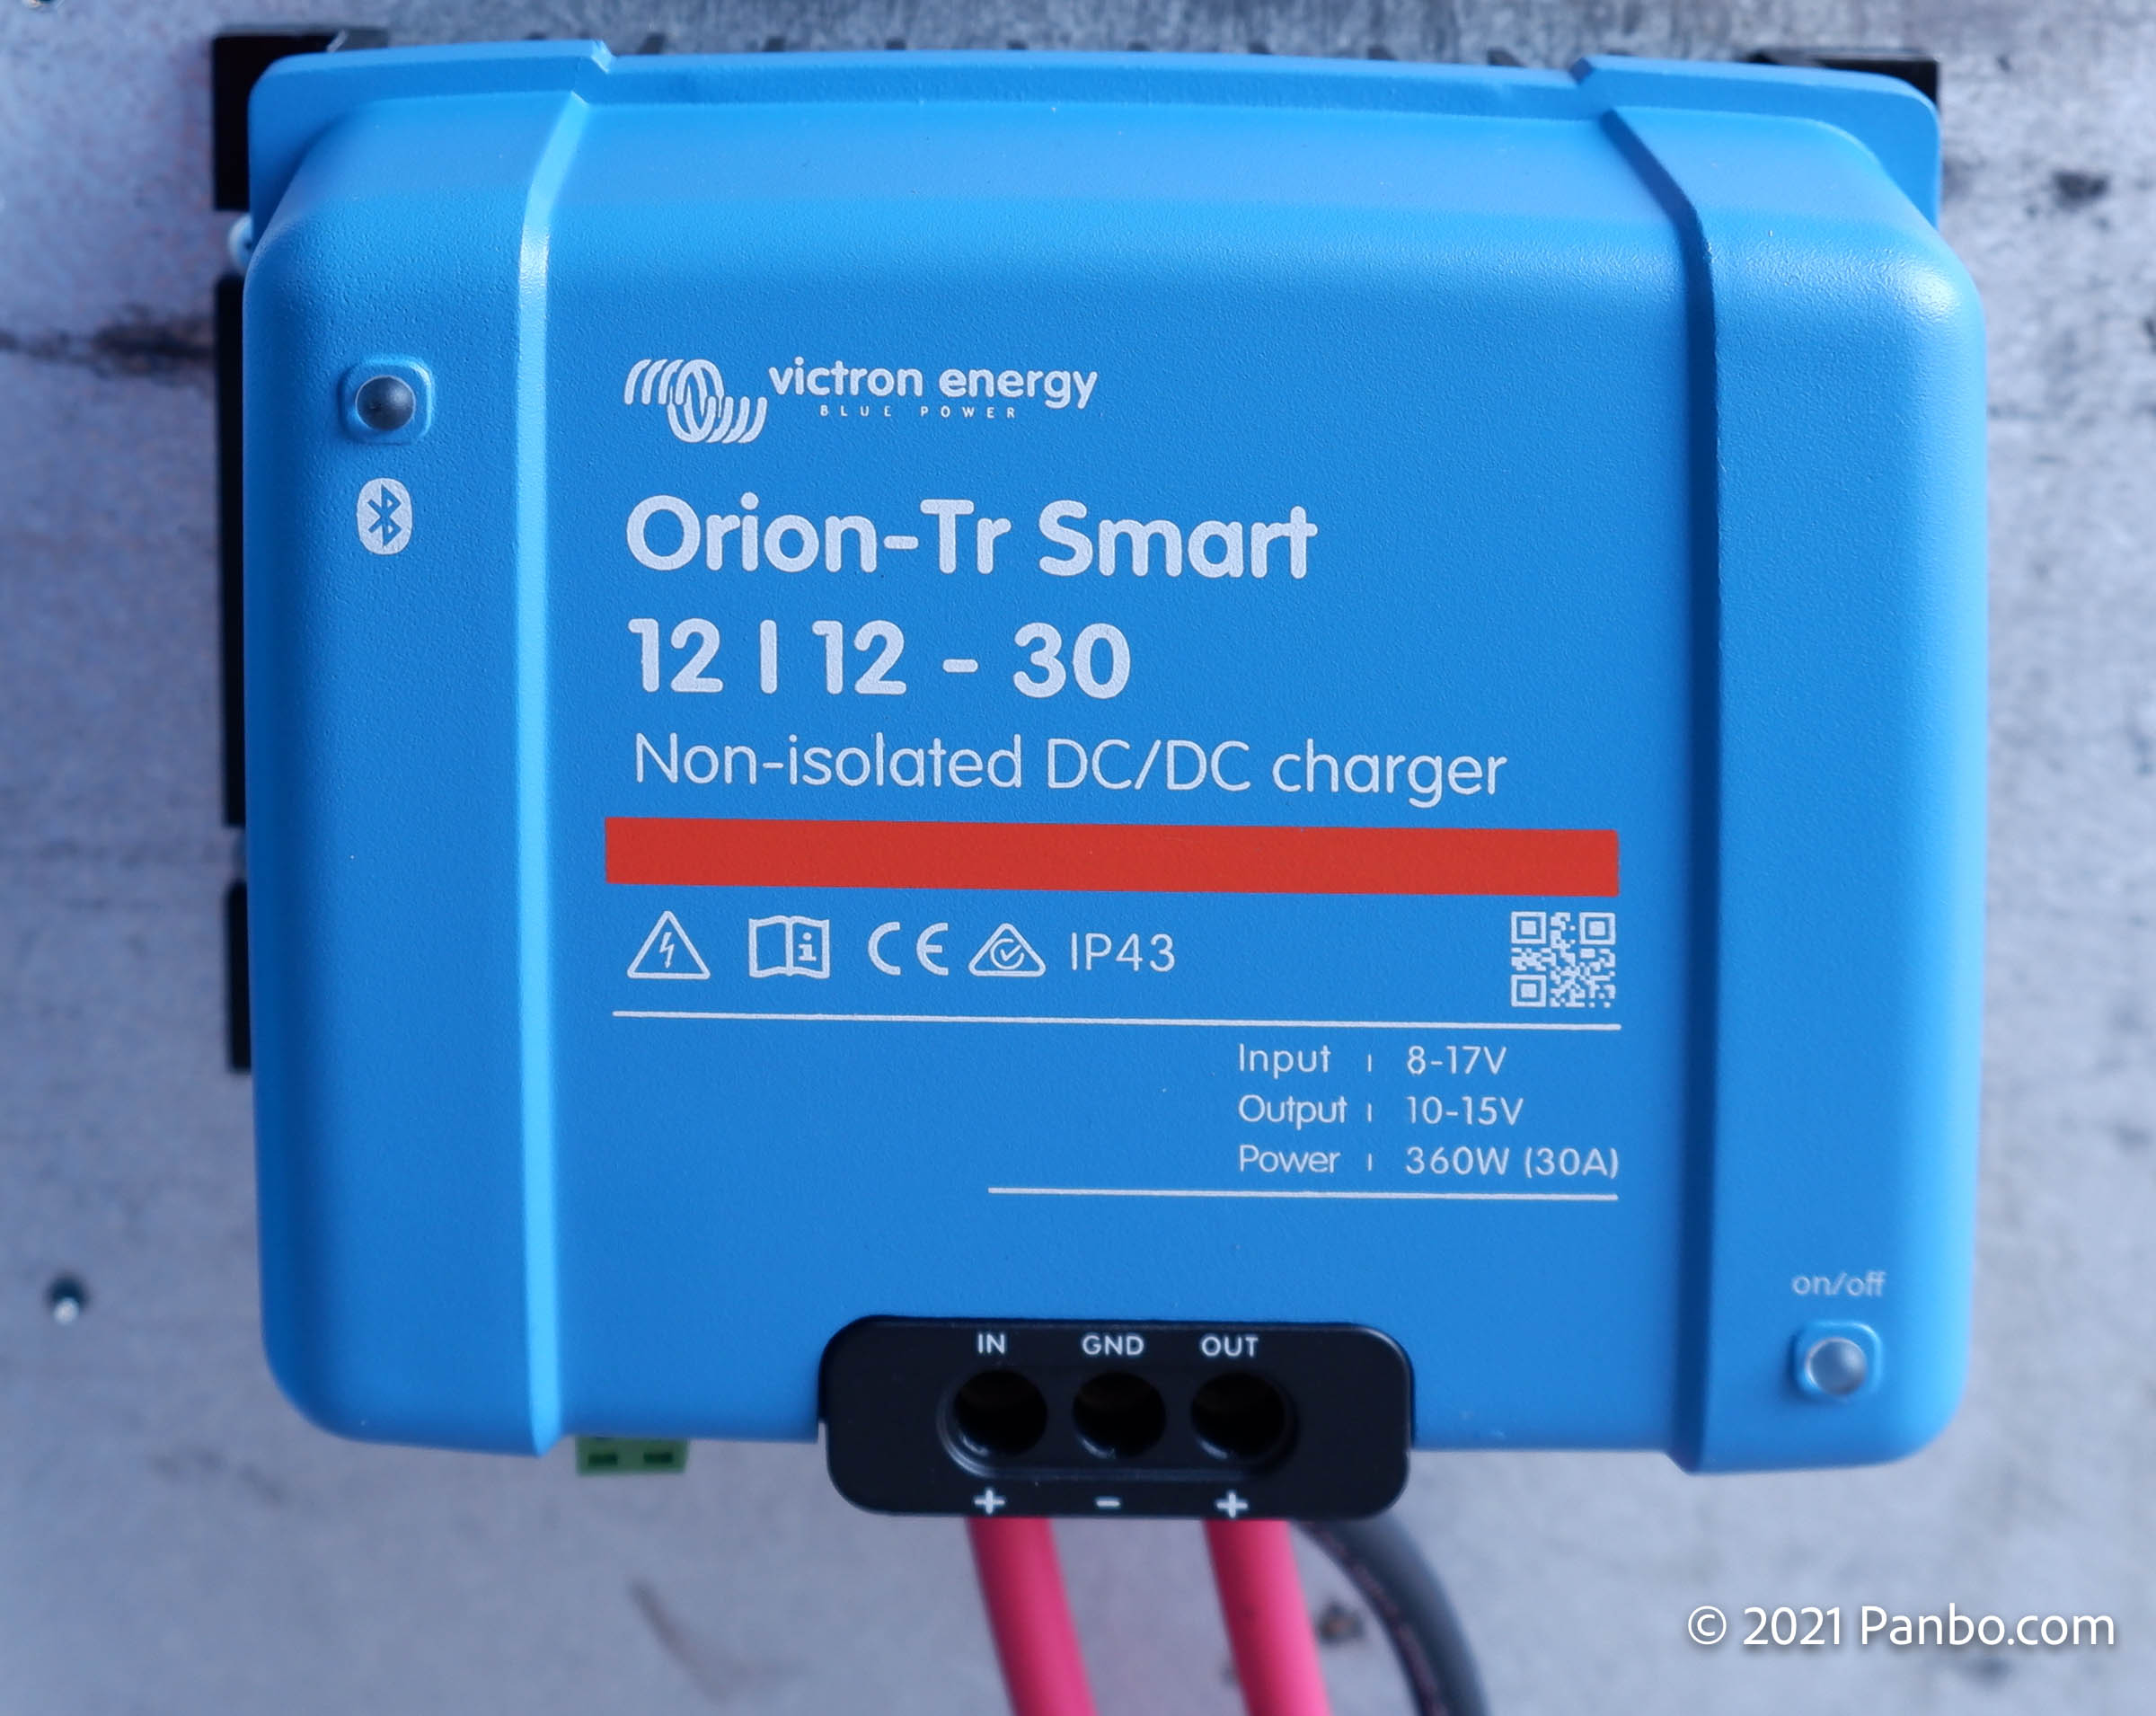
Currently, the only source of charging is from an Orion-Tr Smart 12 volt to 12 volt DC to DC converter/charger (phew, that’s a mouthful). I have a 30-amp model configured in charger mode with an appropriate LiFePO4 charge profile configured. I’m using the running engine detection function to limit the Orion to only charging when the Van’s engine is running. .
Thus far I haven’t had any troubles keeping the battery charged with just the 30-amp DC to DC charger. I’ve considered either solar or a 120-volt charger, but so far I haven’t needed either. I also think this charging method provides an interesting test of LiFePO4 batteries’ tolerance for partial state-of-charge (PSOC) cycling. With a 280 amp hour battery — of which 80% or 224 amp hours are usable — and a 30 amp charger, it’s going to take a while to charge a depleted battery. And since the battery only charges when the van’s engine is running that would need to be a lengthy drive.
Fortunately, I expect pretty small sustained loads on the battery. Maybe around 20-30 amp hours per day. That means the battery should be able to go more than 10 days without charging. I drive the van more often than that. But, if the battery is low it will take quite a few local drives to charge it. So, it’s likely to live in a state of partial charge most of the time. I’m anxious to see if this has any impact on the overall longevity of the battery.
Thus far things are working out nicely with the battery and the equipment I added. Everything fits and doesn’t impinge on the space I use for my tool cases. It’s nice to know I can keep my equipment charged and ready to go. Up next, better organization of the miles of wire I’m carrying around.


Look forward to your future updates. BTW – love the Packout system as well. Check out IG for some inspiration: https://www.instagram.com/explore/tags/packoutsystem/
The IG link could be dangerous. I’ve already done some damage on Etsy (of all places) with custom made Packout mounts. I really like the aluminum floor cleats to hold the cases in place.
-Ben S.
Seems like that van needs as many solar panels as will fit on the roof and a good MPPT charge controller. I’ve got a setup like that on my diesel pickup’s bed cap to keep my dual group 31 batteries charged when I’m not using it for long periods. Works great and doesn’t limit you to charging only when driving.
So far, so good on staying charged but I suspect that you’re right. It would be nice to not have to worry about the battery draining if I’m gone for a while. I could always just flip the battery switch off, but I think we all the know the chances I’d remember to do that!
-Ben S.
I’m thinking the solar could do double duty, charging your Li pack which would also top up your starter battery via the DC-DC.
This is a test comment.. 🙂 But the solar would have to charge the vehicle battery so the DC-DC charger could charge the LiFePO4 battery.
That would be the simplest way to go and wouldn’t require any switching or charge profile changes depending on whether the Li pack was in place but it would still limit the charging rate of the Li to whatever the DC-DC can handle.
Where did you get your bms?
I’m working on an off grid system for my barn and am needing a bms.
I bought mine from Overkill Solar (https://www.overkillsolar.com).
-Ben S.
The lack of fusing for the DC-DC and inverter is concerning. Is this an oversight or was system not completed when pics taken?
Hi Shea,
I have indeed added circuit breakers for both the inverter and the DC-DC charger. When the picture was taken I was waiting for parts to arrive (a frequent exercise these days) but I’d downsized the main fuse low enough to protect all the conductors in circuit.
-Ben S.
Just a general update. Since I finished the install I’ve added a 100-watt semi-flexible solar panel to the roof. In winter sun the 100-watt panel is just a little too small to keep up with typical daily discharge. But, even just a few minutes of running the engine tops off the battery. I expect that in the summer the panel will keep up with ease. I’ve run about 2,000 amp hours through the battery and everything seems to be humming along happily.
-Ben S.