How-to: Making engraved dash panels
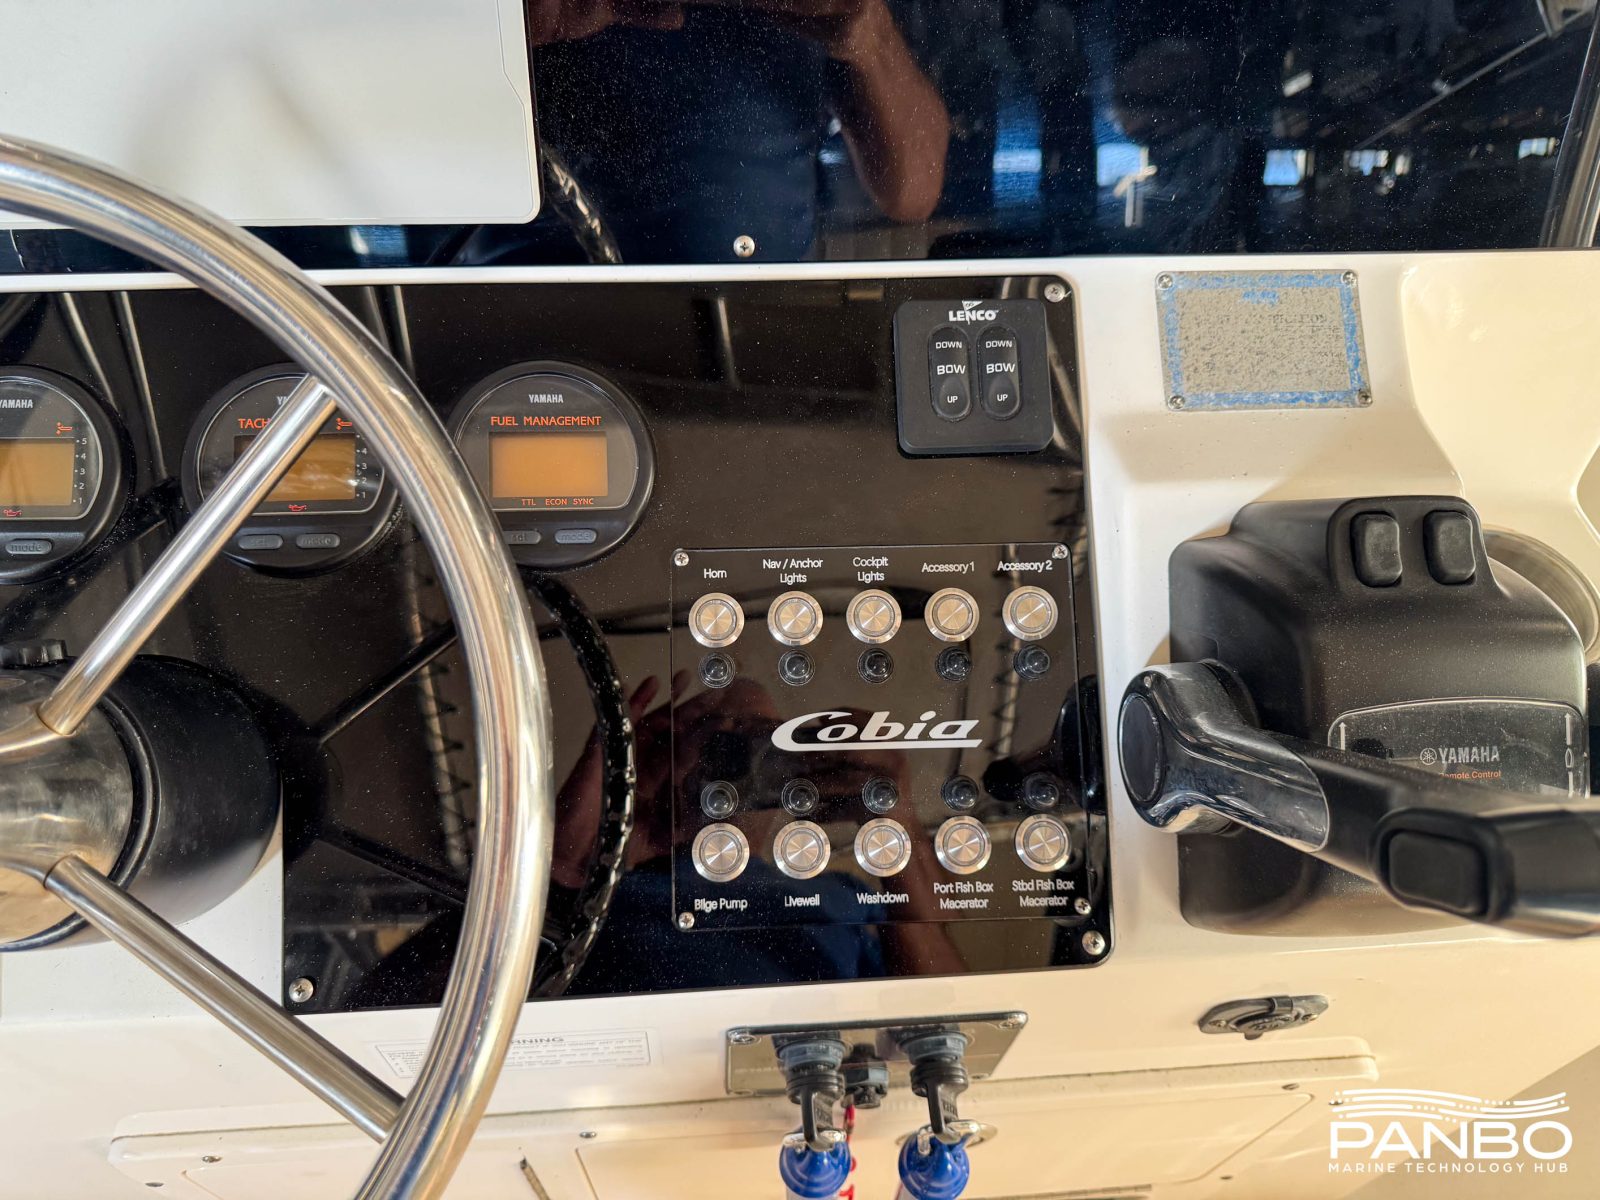
Ben Ellison and I began working together on Panbo seven years ago. For me, that time has been a journey of figuring out a new industry, a new career, and new side gigs. One of those side gigs has me installing marine technology. My work ranges widely including full electronics refits, lithium battery upgrades, troubleshooting, and more. Recently, I took on the update of a friend’s center console. A casual mention that he’d like to modernize the look sent me down a rabbit hole of figuring out how to make a new panel with labels etched into it. Obviously, once I figured that out, I had to add the boat logo. Ultimately, a simple ask turned into nearly a dozen prototypes, countless hours, and a lot scrap before the finished product. I learned a lot during the process and I’m excited to share it.
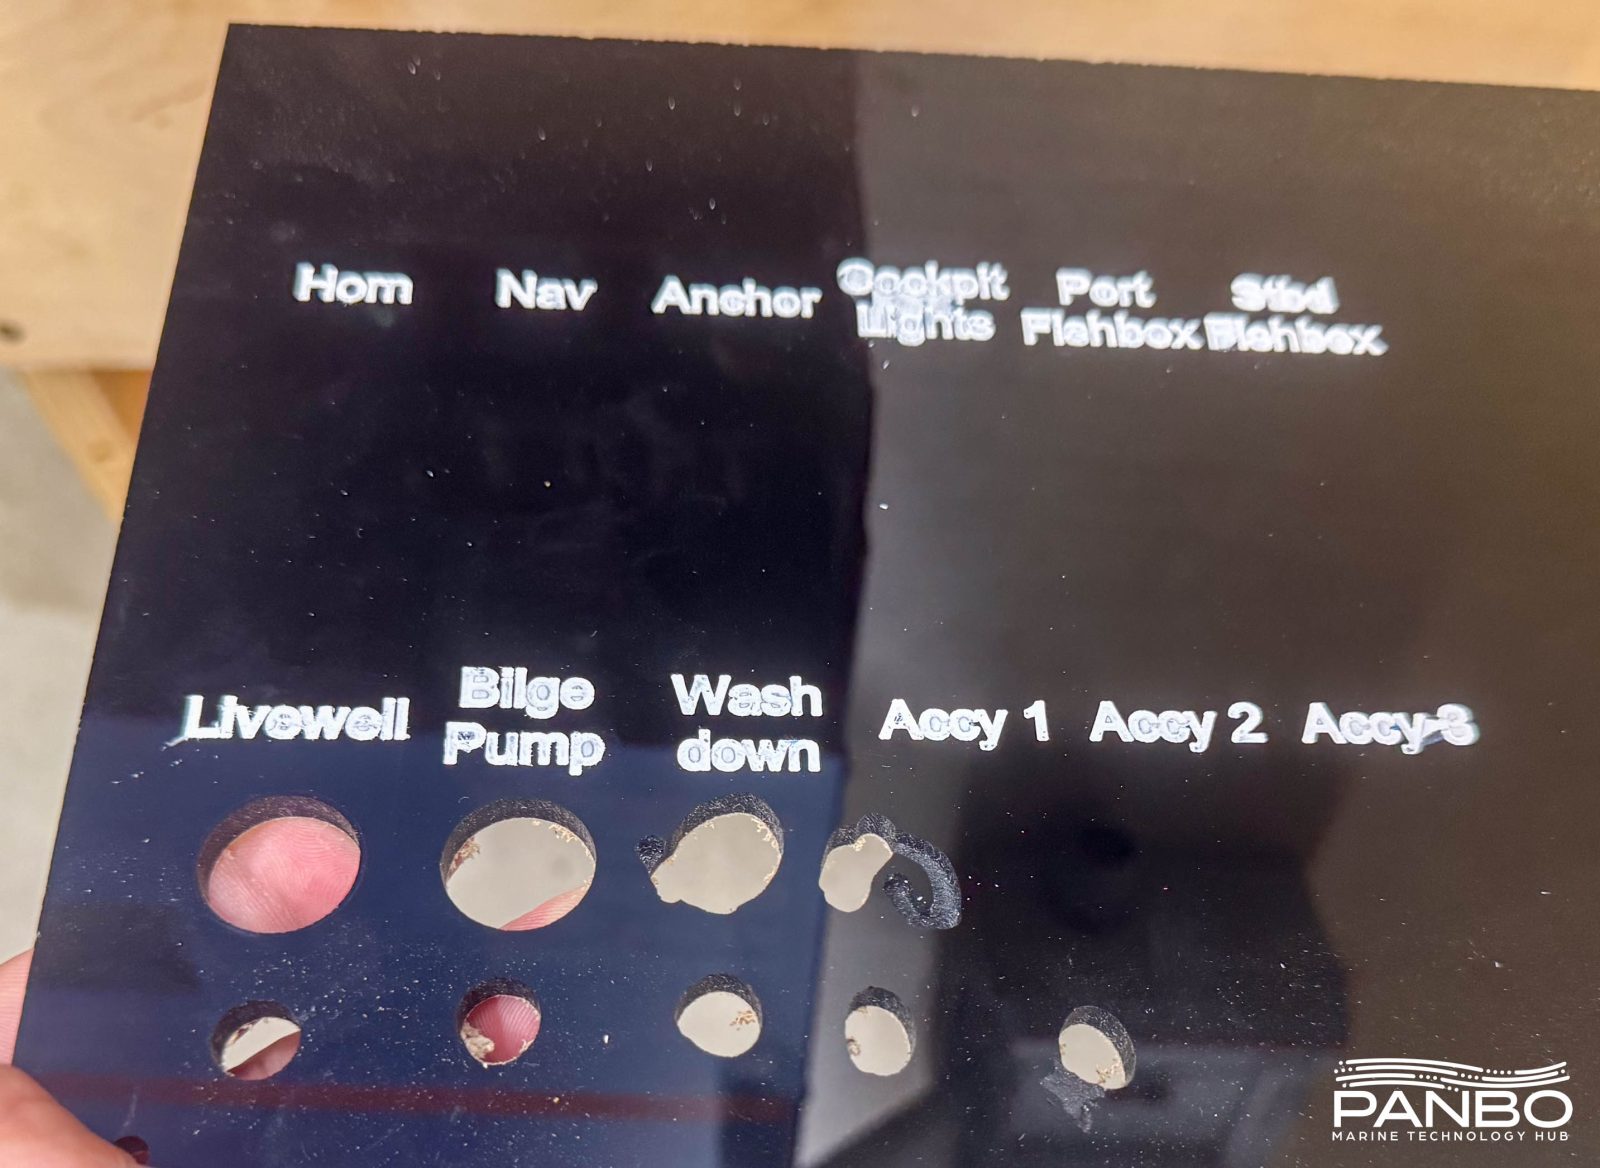
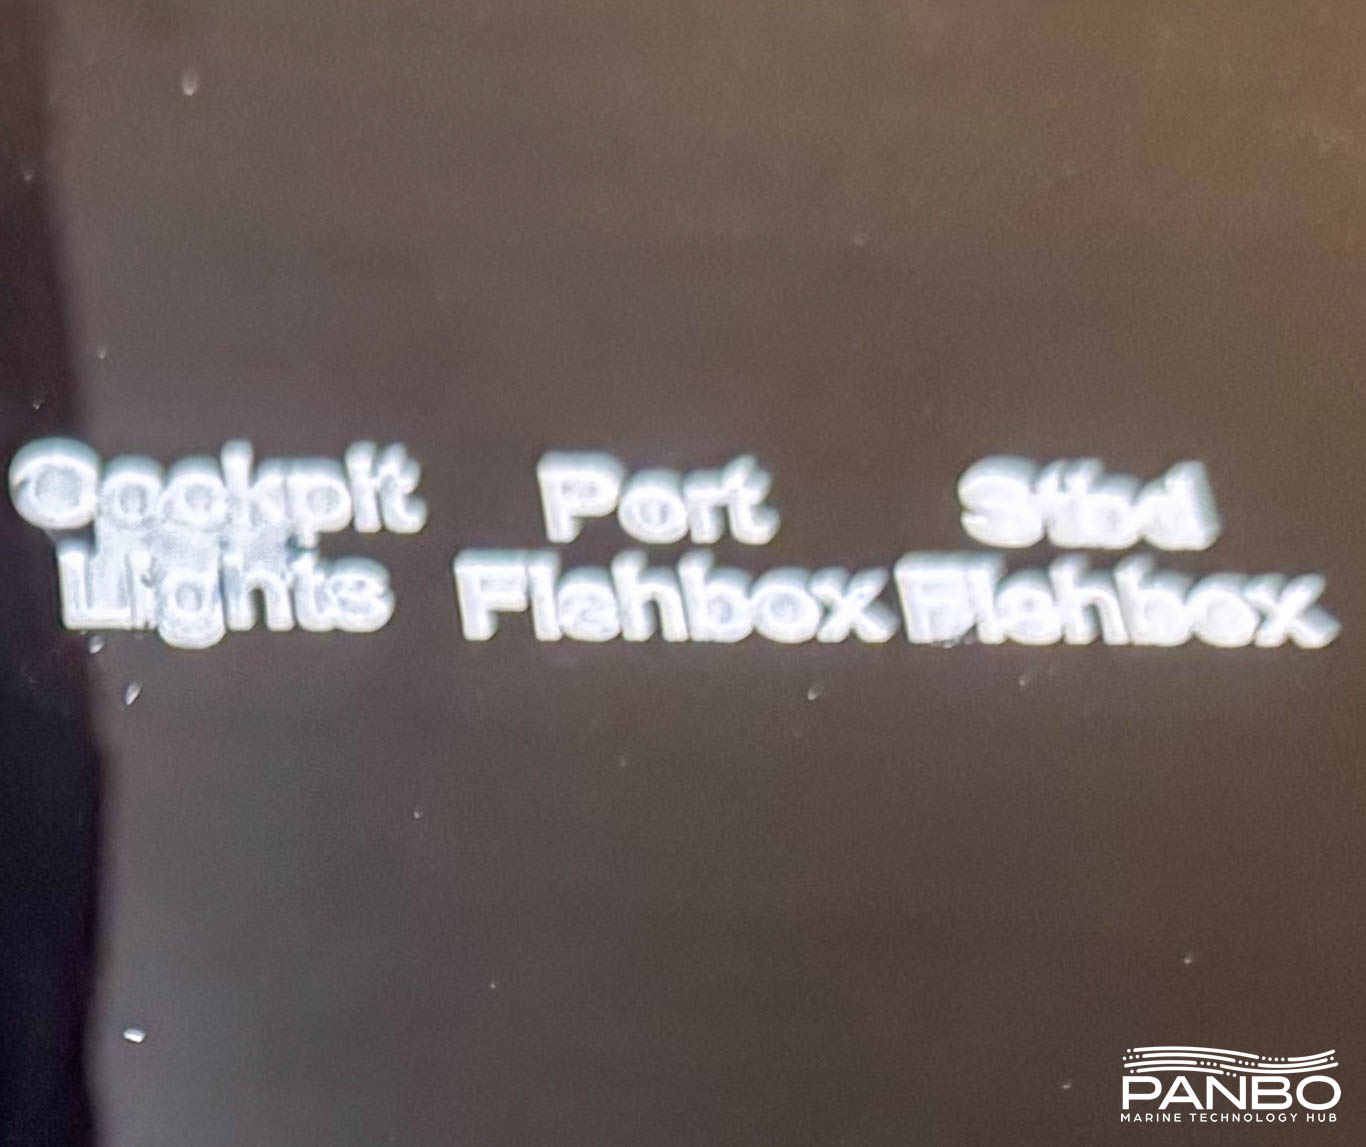
Prior to creating boat dashes, I must admit I hadn’t put much thought into them. But, with this project on my plate, I set out to figure out how to make it happen. My first attempts involved engraving the front of a panel and then trying to fill the engraved areas. I used Oramask, an adhesive masking product, to protect the un-engraved areas. With the Oramask, I tried various approaches of paint pens, spray paint, and tinted epoxy to fill the engravings. I didn’t have much luck with that approach and really worried about the potential durability of the finished product.
A few years ago at the NMEA’s annual meeting, Michael Reimer, the CEO of International Marine gave a very informative talk on CNC usage in marine electronics fabrication. He shared numerous tricks of the trade and proved very generous with his expertise and time. Disappointed with my early results, I dropped Michael a line and he was once again very helpful and generous with his time. He shared that their preferred method of constructing such panels is with a reverse engravable material and a laser. I don’t have a laser, but I do have a CNC router. Fortunately, a quick check of materials indicate they are generally compatible with both lasers and rotary engraving.
I found several choices of material but none of it quite worked for me. Options from Amazon and Johnson Plastics appeared as though they would work, but at high prices and with limited thicknesses available. Because I’d already made the rest of the dash, I needed to exactly match the thickness of that material.
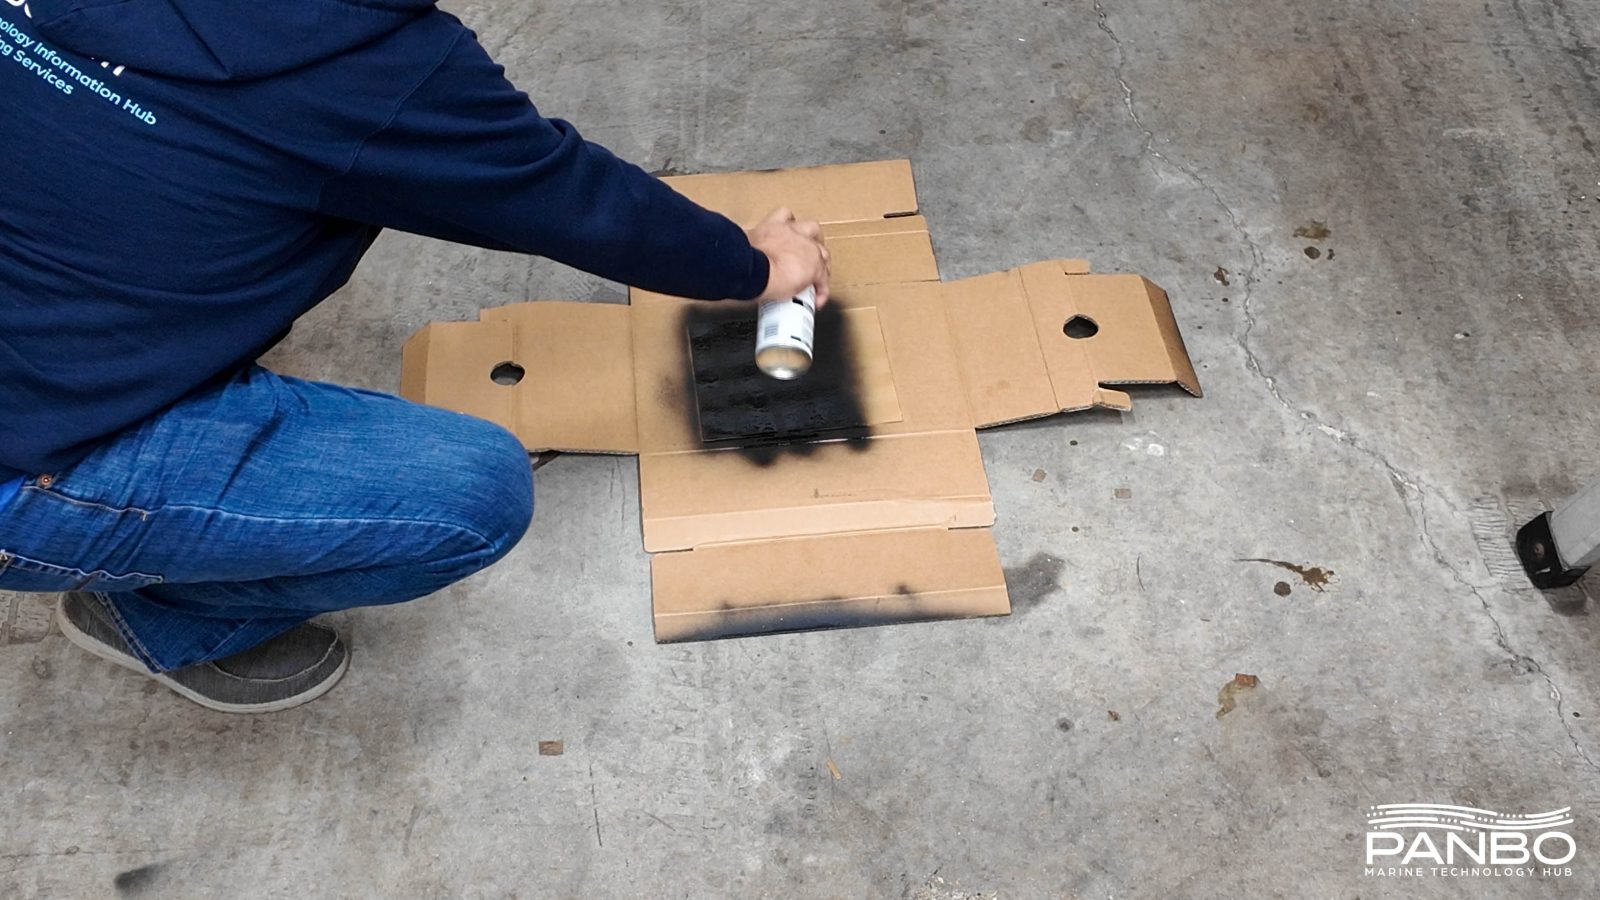
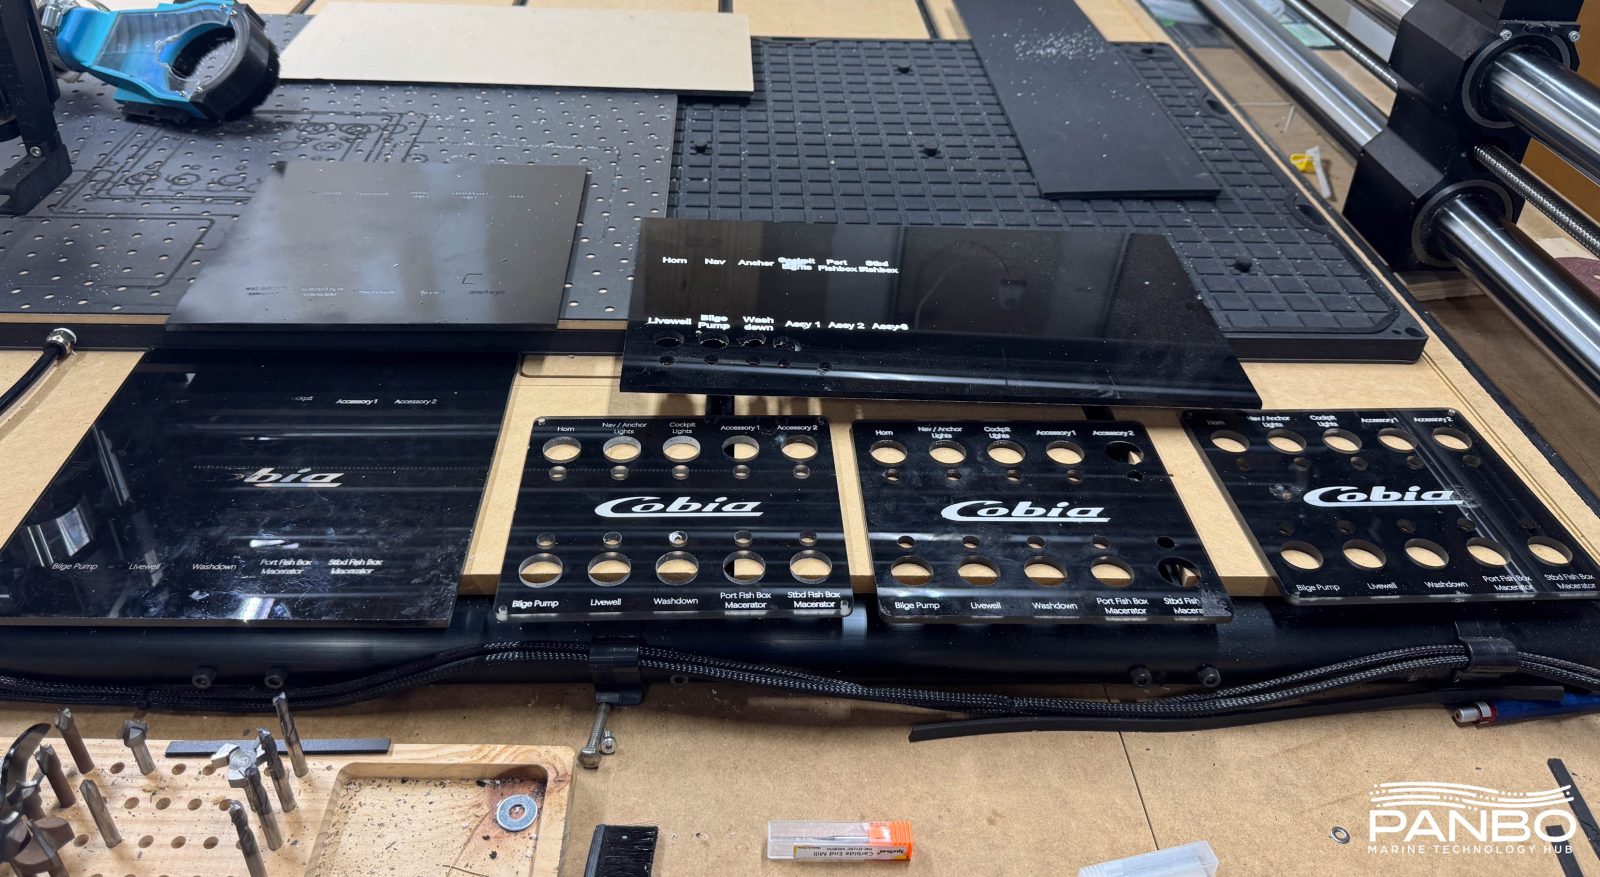
Unhappy with the choices I’d found to purchase, I decided to try making my own engravable material. I took a small sheet of clear acryllic and spray painted one side black. Over the course of a few tries, I learned it is important to make sure the coat is pretty thick both for durability and to ensure a uniform appearance. It came as a surprise to me that a painted sheet of clear is difficult to distinguish from a sheet of all black material.
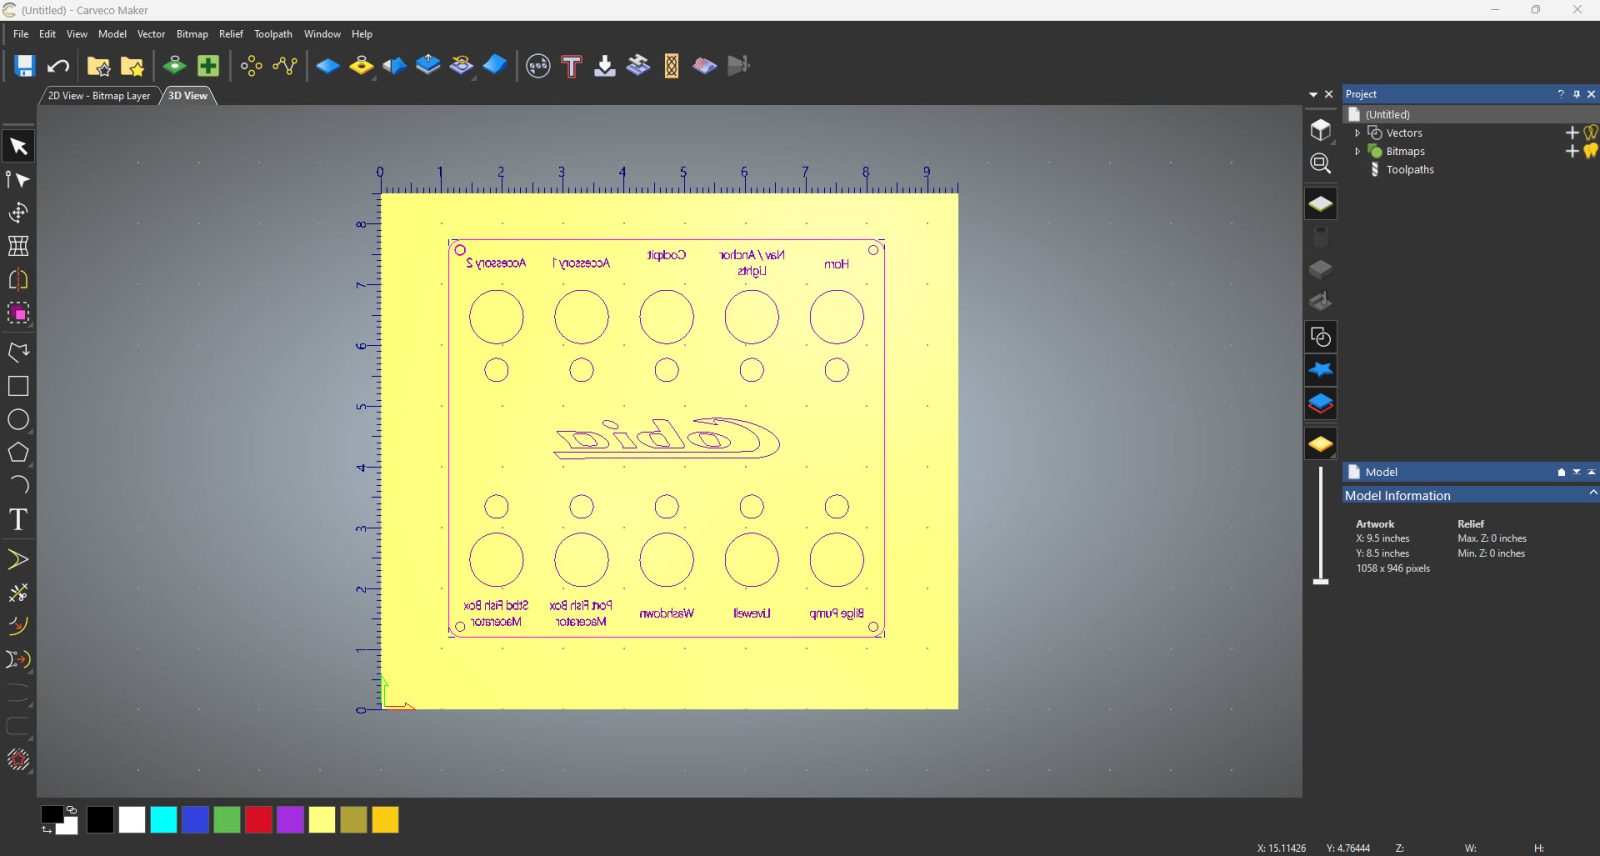
Now that I knew the technique, I needed a layout for the switch panel. I designed that in Carveco Maker, a CAD modeling and CNC machining software package . In Maker, I laid out the switch and circuit breaker cut outs, the text for the labels, screw holes, and panel cut out. The last step before I export the design to the CNC router is to mirror it so that it will correctly cut on the back of the material.
With the design finished and sent to the router, it’s time to get engraving and cutting. I have an Onefinity Elite Journeyman router. Although the router is capable of cutting up to 48 x 48 inch pieces, this time I’m just cutting a roughly 9 inch square. The engraving into the material is only a few thousandths of an inch. Unfortunately, I’ve found about 3-4 one thousandths of an inch variation in the material thickness. As a result, I’ve had to break the cuts up into small groups and probe the thickness of the material in each area. Even with that, it was a bear to get consistent depth cuts throughout.
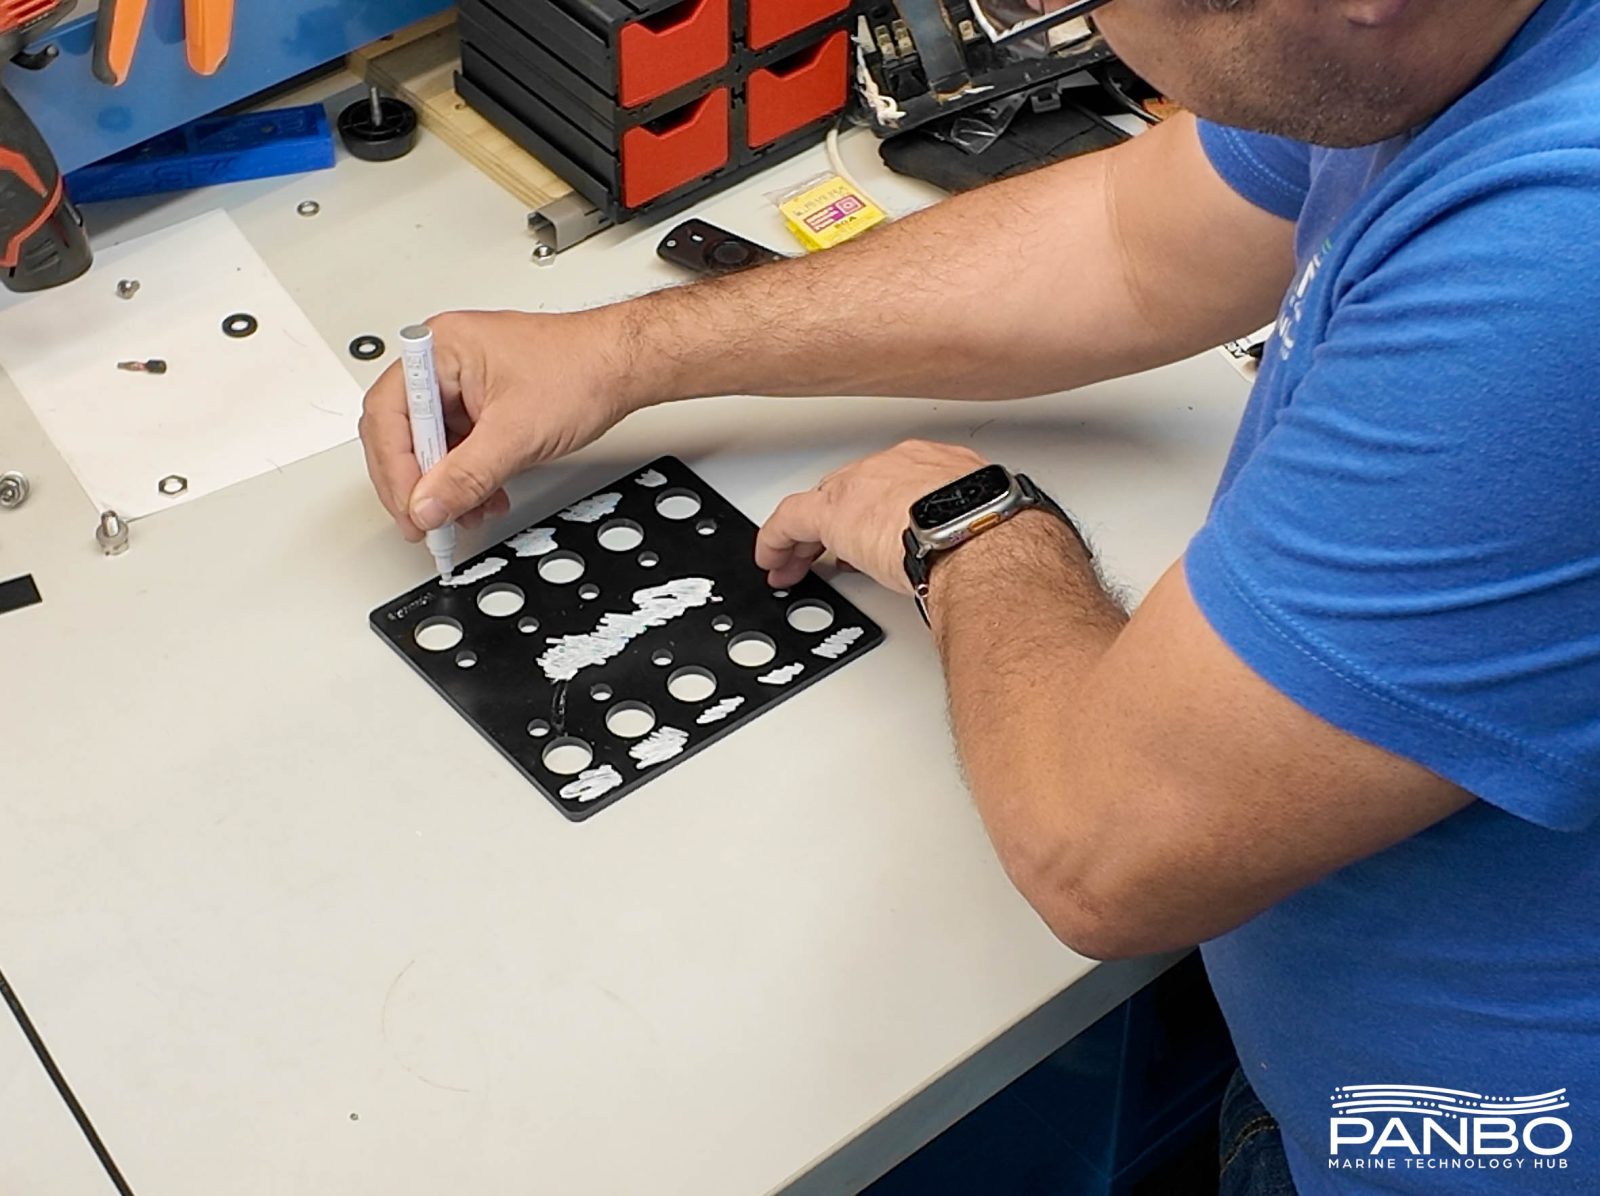
After the panel comes off the router, the next step is painting the engraved areas so they show through white. I tried both white paint pens and a coat of white spray paint across the back. I got pretty even results with either option. The one advantage of the paint pen is that no paint makes it onto the sides of the panel where it might be visible. Finally, before adding the switches I added a coat of black paint across the back to protect everything.
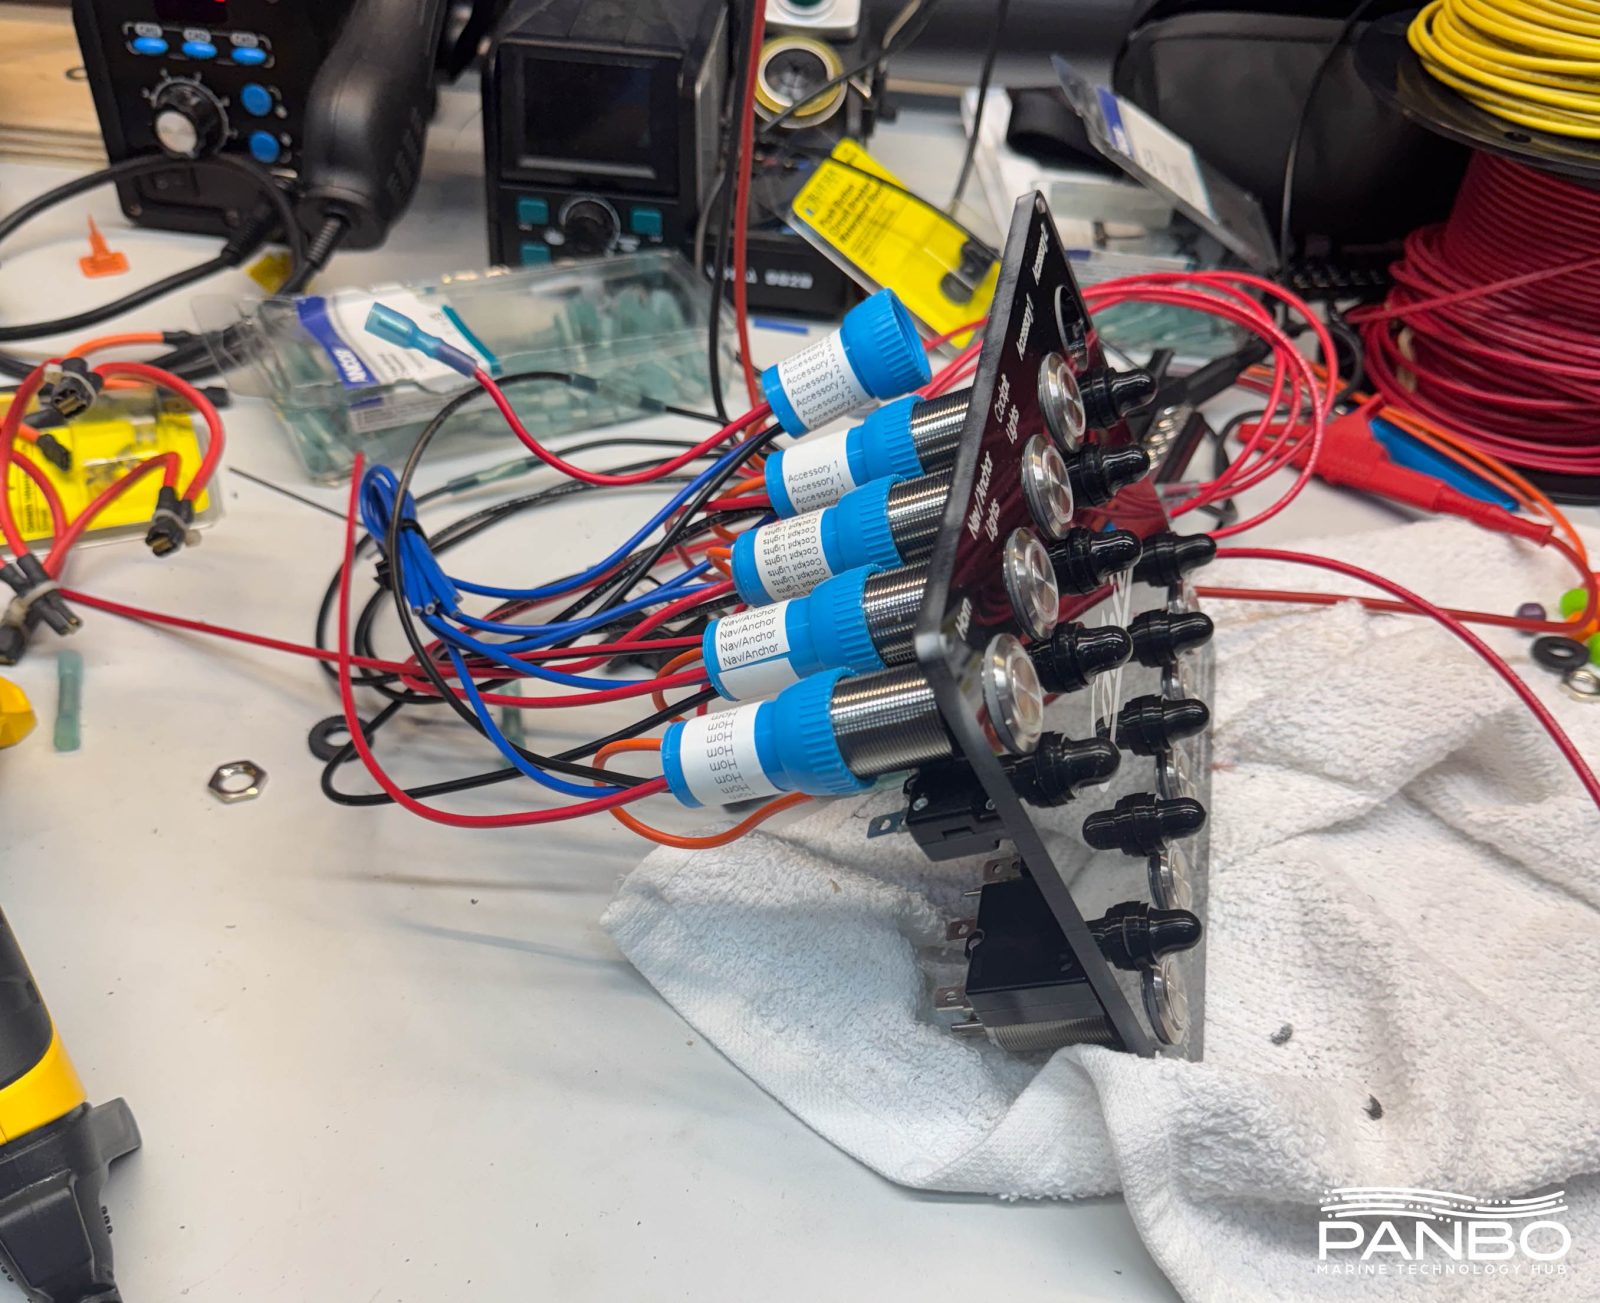
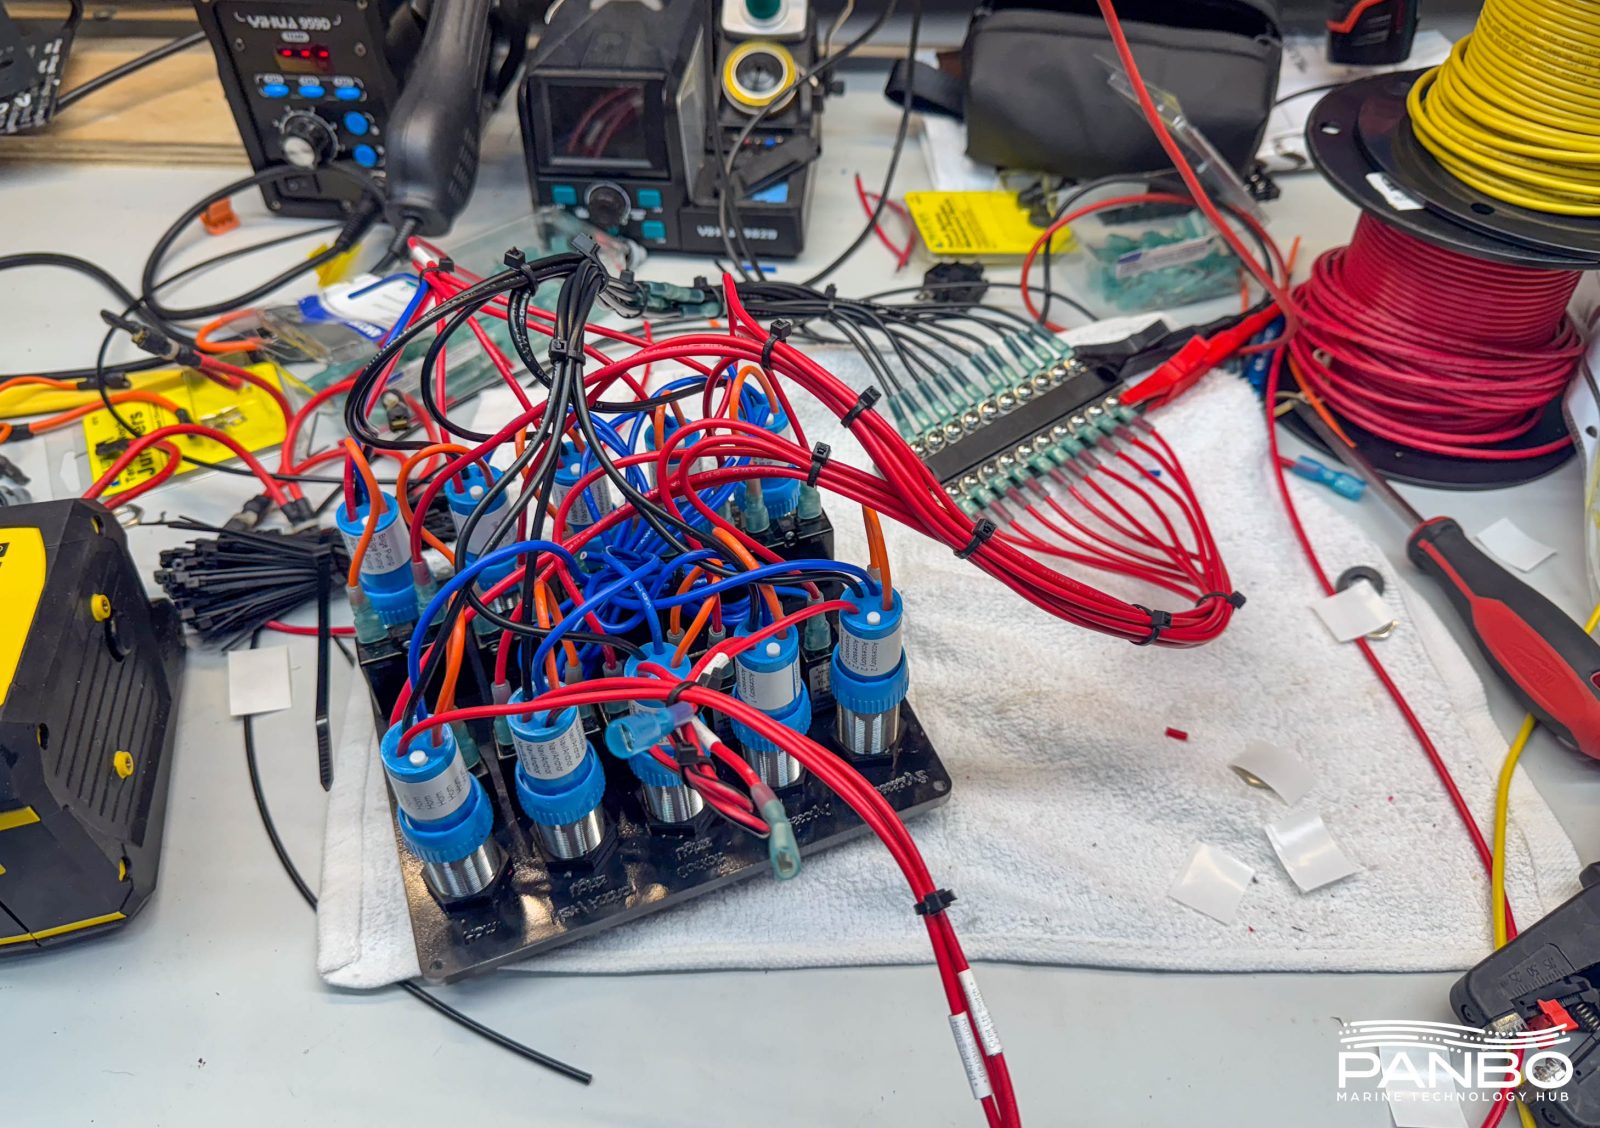
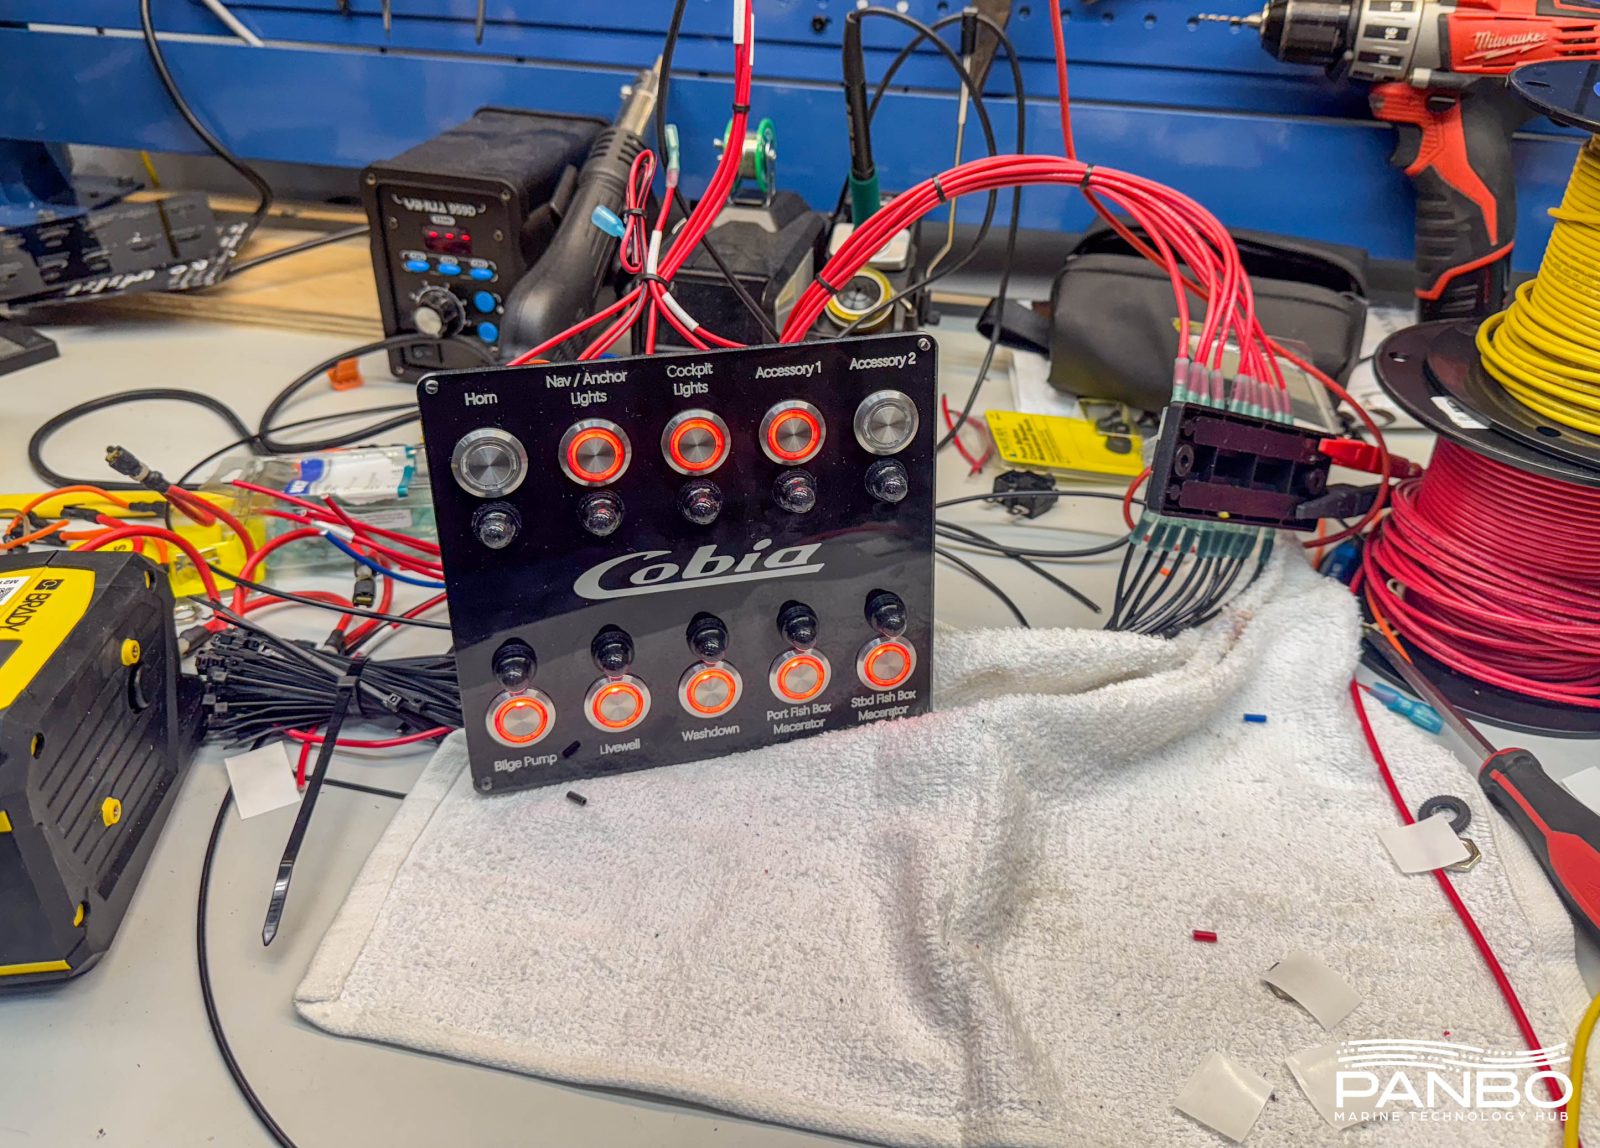
Now that the panel is engraved, cut, and painted, it is time to wire it up. I used Bluewater’s 22mm electronic push button switches and Blue Sea System’s 7000 series push button circuit breakers. The boat’s previous panel, like so many others, was tough to work on because any time you touched it, the spade type disconnects tended to pull lose. The Bluewater switches have screw on harnesses and I used bus bars with ring terminals to make the connections. I’m confident there won’t be any troubles with this panel’s connections accidentally pulling off.
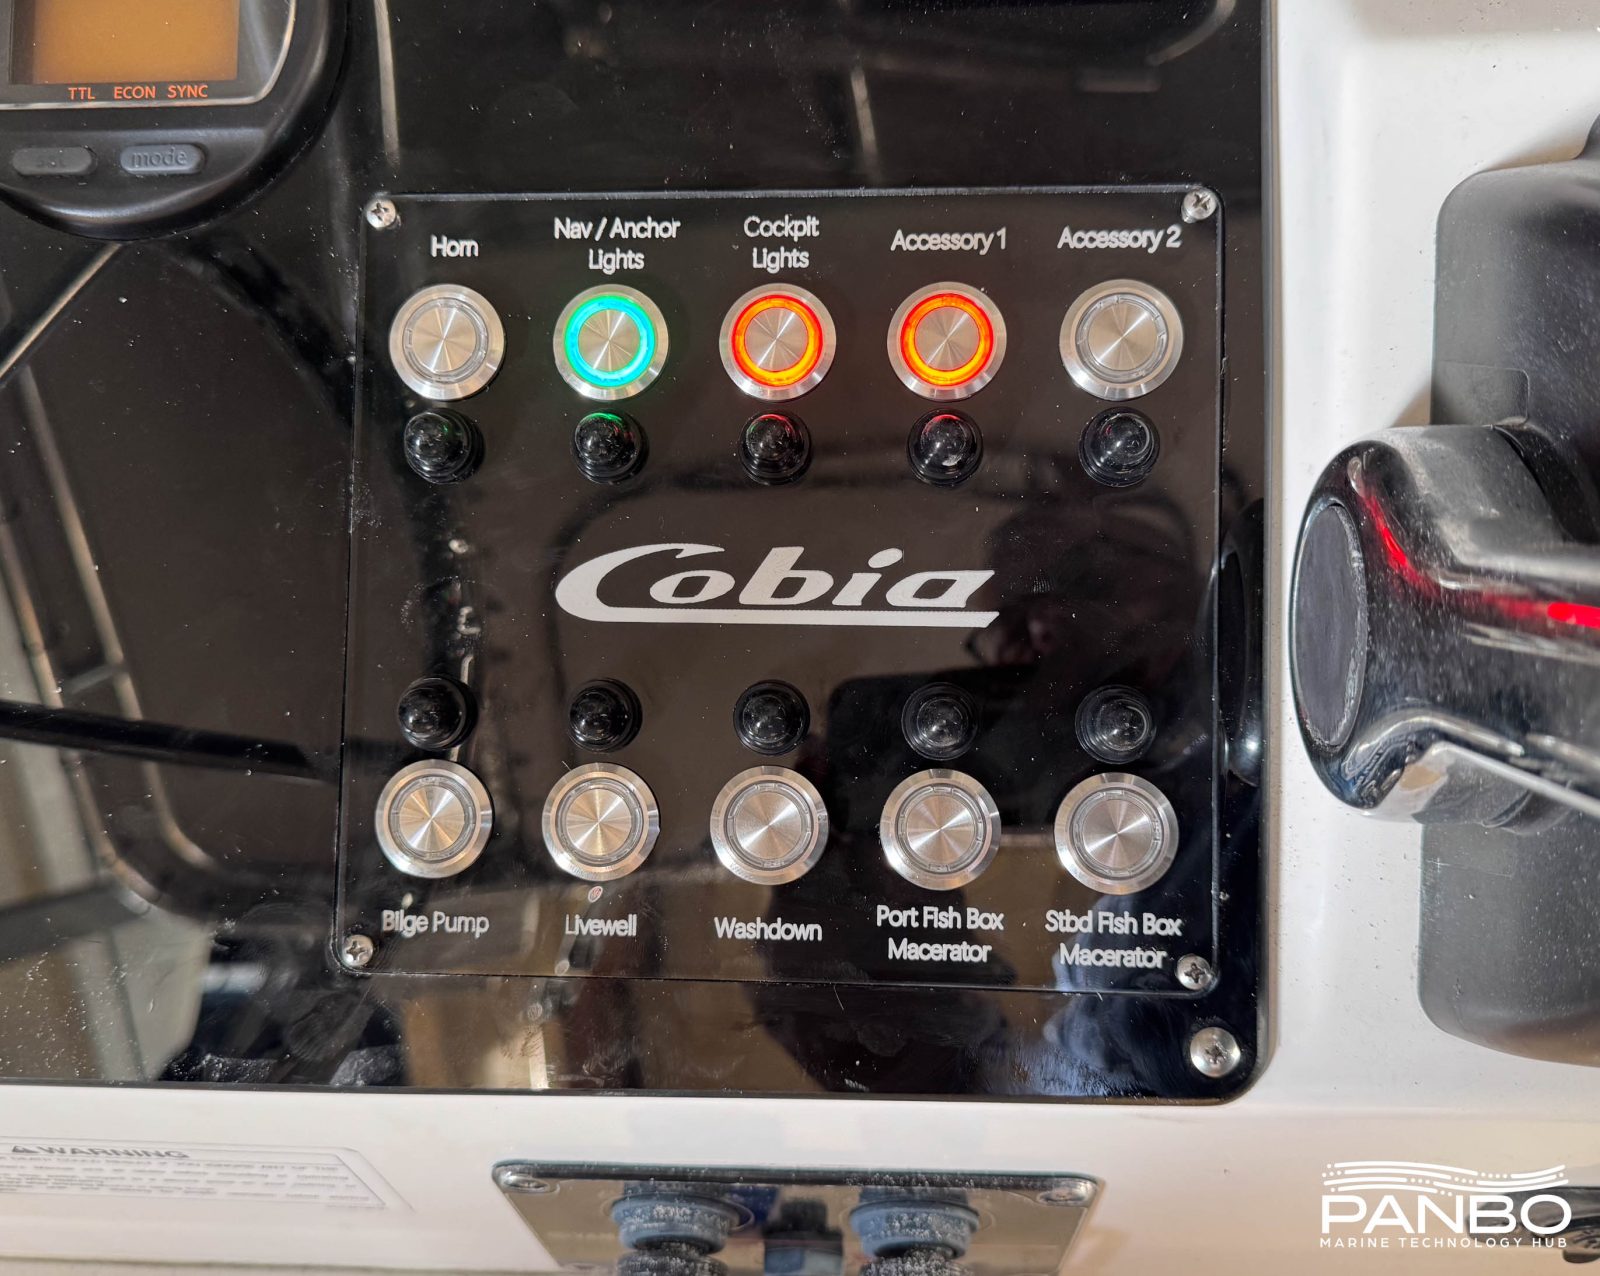
This project was a learning experience and a fairly enjoyable one at that. That’s fortunate, because I surely spent way too many hours on it. I couldn’t possibly have billed my friend for anywhere near the hours I spent. But, I learned some valuable lessons and I’m fairly confident I could make the next one in a small fraction of the time. I also suspect there’s plenty more room for me to hone my techniques. Perhaps I’ll order up some of the engravable material and see how it works. I imagine it is probably easier to work with than my home made approach. Plenty of you are probably more experienced at this than I am, so I’d welcome your wisdom in the comments below.




It looks like you did a great job on your panel! But what boater has a CNC router?
Right now I am making a switch panel on my 3D printer. To be used for a four bank remote battery switches. I just received the printer a few weeks ago so this is all new to me. But I think it would be a great subject since 3D printer are in the price range of most boaters. This will be my first attempt at this and I hope not my last. I will be using the plate inside my pilothouse, so it will our of direct weather. But I am sure there is the right filament out there for outside use.
Paul,
Fair point about the accessibility of tooling to most boaters. However, it’s worth mentioning that laser engravers are available at lower price points. Additionally, smaller CNC routers are available at prices similar to 3d printers – https://amzn.to/4gMXM2k.
I have printed a few pieces for use on my boat. Most recently I printed a mount for installation on the hard top with significant UV exposure. I used ASA due to its UV stability. I haven’t had it in place long enough to speak to long term durability. Also a quick note that if you do use ASA (or ABS) please pay attention to ventilation. The fumes it puts off aren’t pleasant.
-Ben S>
Wow, very impressive! You must have the patience of Job!
Lewis,
You’re kind but I think my wife would disagree.
-Ben S.
I did not realize the price drop on that tool. Never used one so I don’t know how far that will get you in making a switch panel.
That panel is so much more then I was expecting. Ben exceeded my expectations by far.
That is very cool Ben. Opens up all kinds of possibilities.
Making panels like this is the primary product of New Wire Marine, newwiremarine.com. Considering how much time you spent on this, it might be worthwhile to contract out future panels to New Wire.
Orin,
New Wire does a really nice job with the panels they make. I wanted to try my hand at making them and feel confident I can get the time down on subsequent panels to a more reasonable level. Even with the amount of time I spent on this, I billed the client less in total than New Wire estimated for the production of the panel. Their pricing did include the switches and wiring, as did mine. Without the tools I have available, New Wire’s offerings would be very compelling.
-Ben S.
Best to let a pro do the job. Mine called what I had made, Dipped Carbon Fiber. True Carbon Fiber can not be etched. Mine looks just like the real stuff & each switch label shows up the back lit blue from a long strip of LED’s. They started out with white acrylic and after the dip process (took a month) one side looks just like Carbon Fiber. Wish I could post a photo here.
I wish you could post a photo here too, Ron. But if you send the image to editor @ panbo.com, we can add it to your comment. Please share your pro source, too, especially if they are available to more than local boaters, as New Wire is:
https://newwiremarine.com/custom-marine-switch-panels/
I can’t believe how much time and cost was involved in this project.
Had you used Front Panel Designer, you would have had a finished product in a much shorter period of time and at a fraction of the cost.
Shonky journalism.
Front Panel Express would have cost between $125 and $200 for the panel itself. They offer quite a few metal options but the only plastic they carry is Perspex in red or clear in 3, 4, and 5mm thickness. Their design tool, Front Panel Designer, doesn’t offer the design features or control of full CAD and CAM.
But, the lion’s share of the cost of this project is in the switches, breakers, wiring, and time. There is about $600 worth of Blue Water switches alone.
I’m not sure what about an accurate account of how I made this panel is “shonky.” I invested the time to learn at least one way to make such a panel. There are others or I could have outsourced the whole thing. But, I chose this path and chose to make it myself. Sorry if that’s a problem for you.
-Ben S.
I’ve used Front Panel for a couple of aluminum custom panels and you can use CAD to create a DXF file and then import it into their designer. That being said – your article was great as it shows what it takes to fabricate it yourself. Front Panel allows you to provide your own material which you can do for thicker acrylic panels for instance (vs their stock 3-4MM plastic options).
Another option for plantic is TAP Plastics – you send ship them a DXF file from CAD – doesn’t solve for engraving but for a shaped panel with cut-outs it’s a good option as well.